 |
|
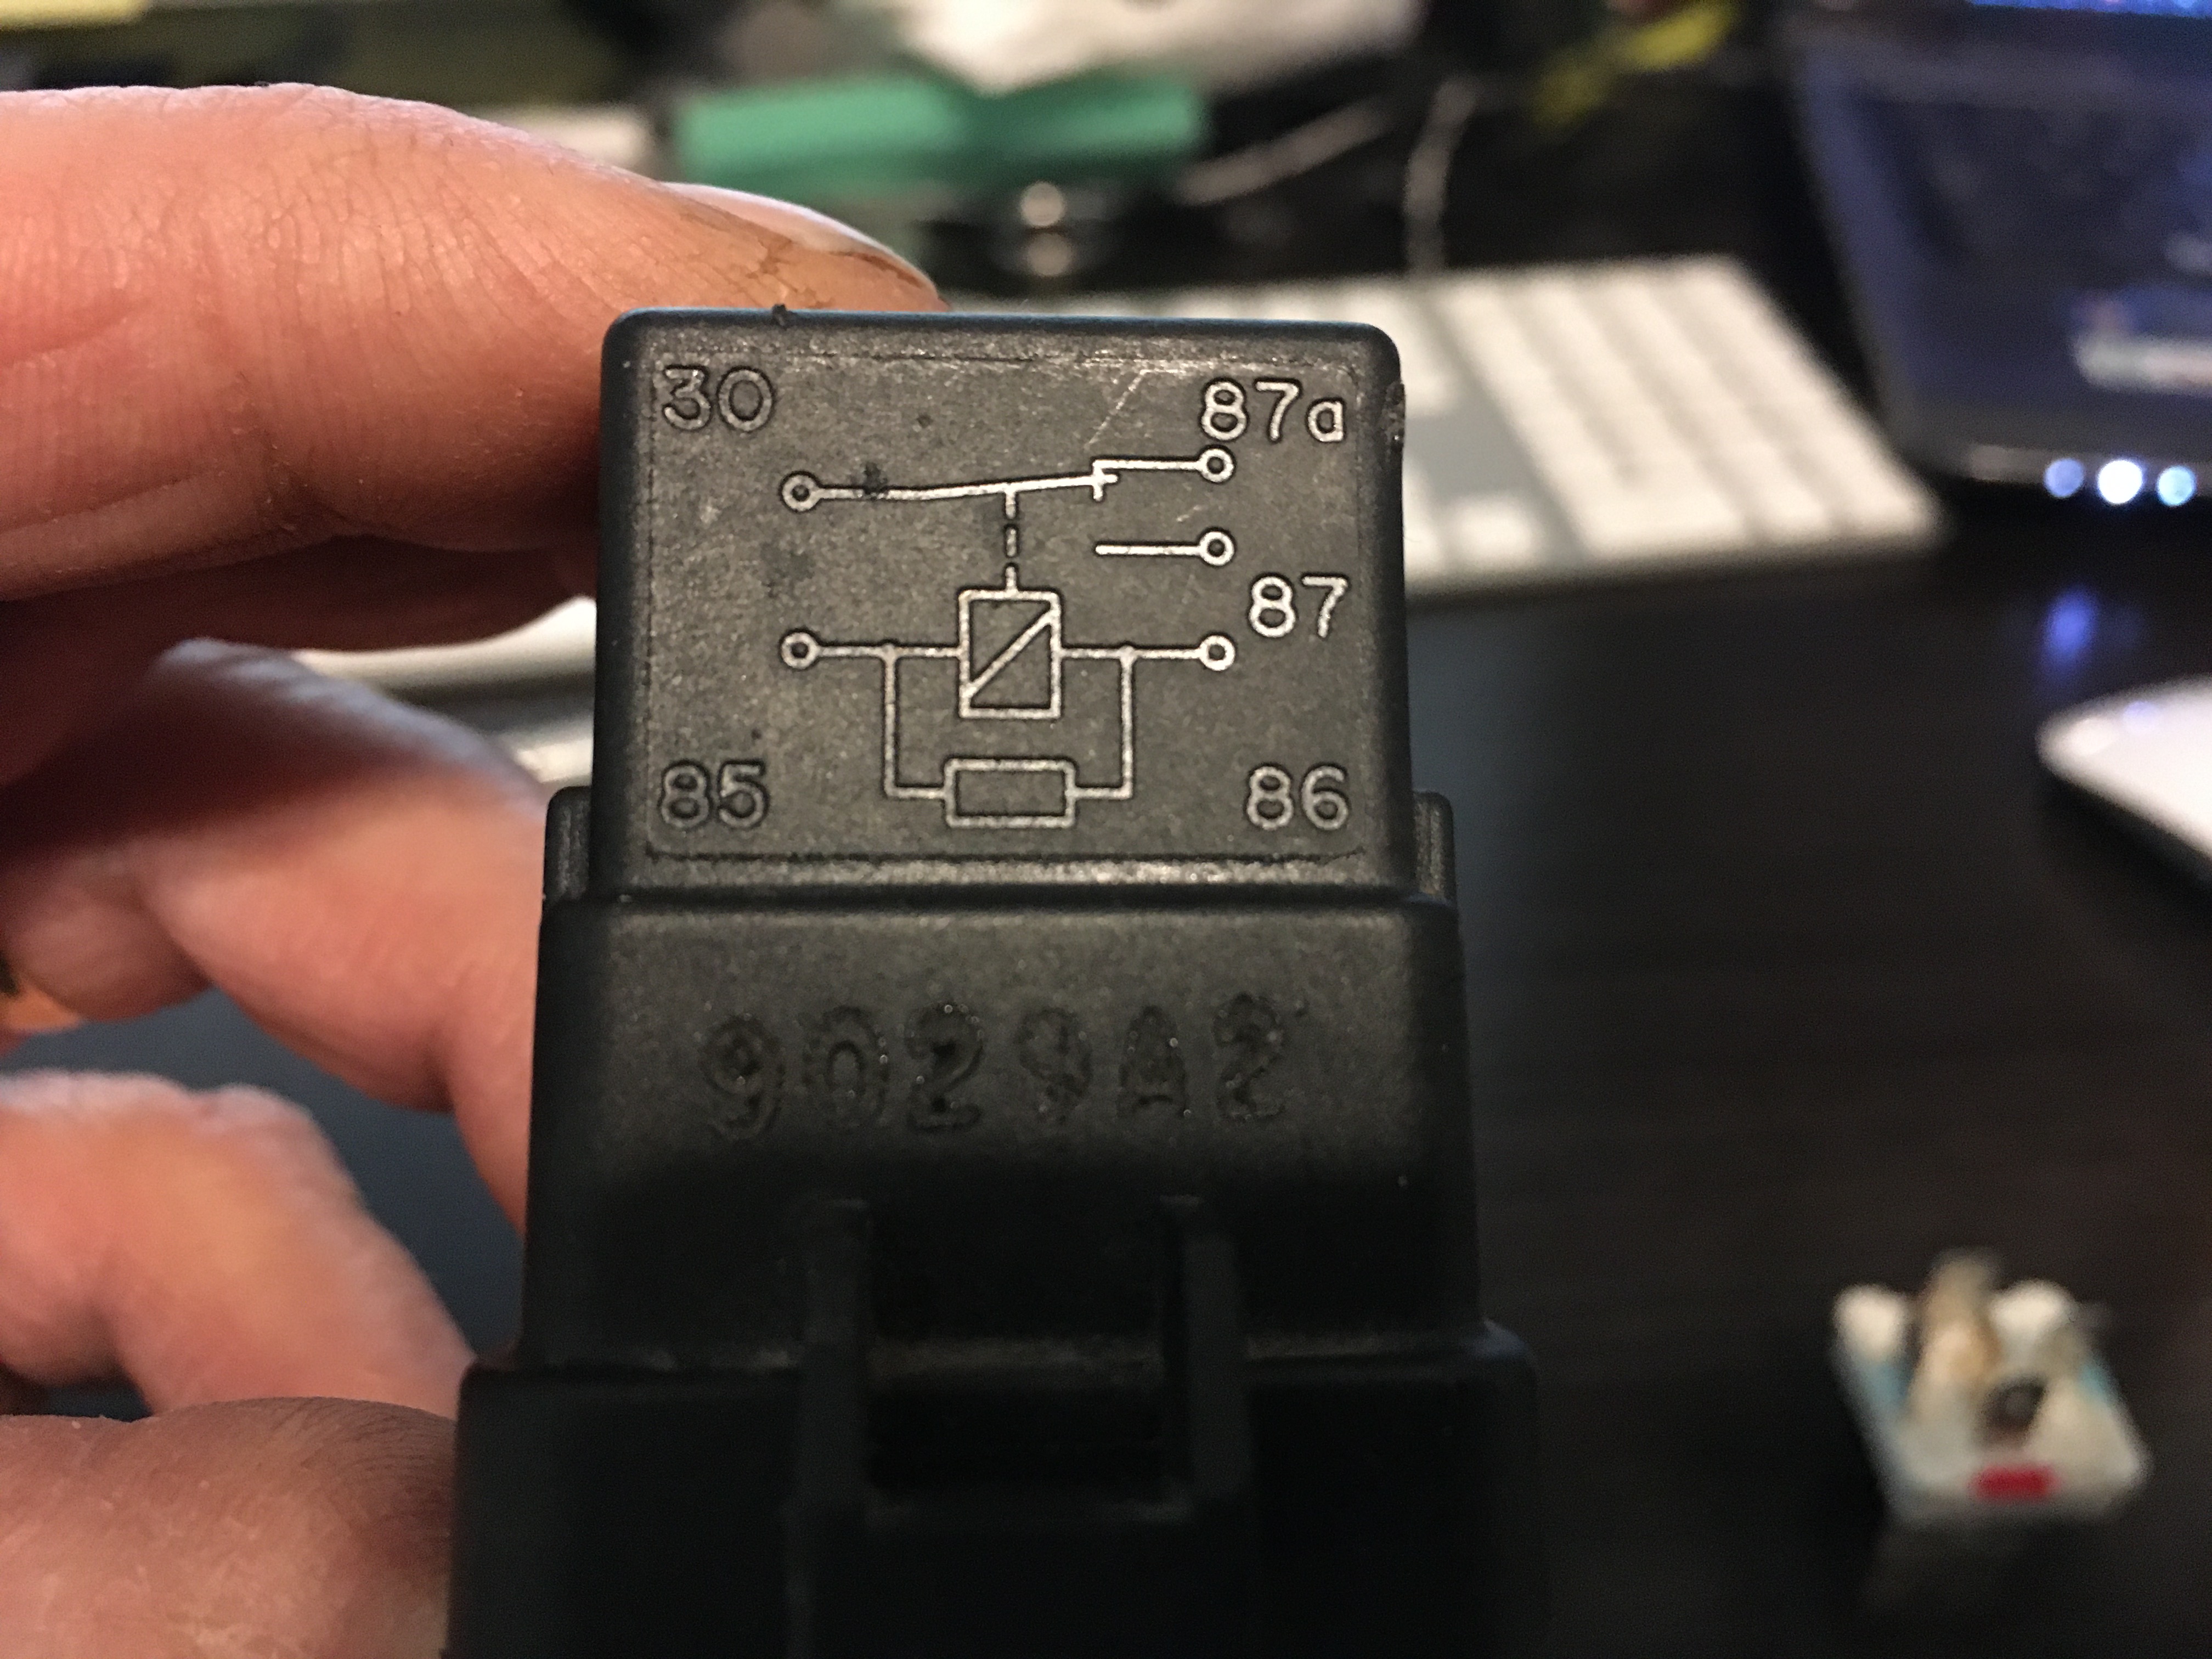
(above) This is the relay that drives the fuel pump. |
 |
|
(above) The picture on the relay describes what the numbered terminals on the bottom do. Terminals 85 and 86 are power to the relay to turn it on (when you turn the ignition key on). Terminals 30 and 87 connect when the relay is activated, they turn the pump on. In this case terminal 87a is not used (these relays are used for multiple applications) |
 |
|
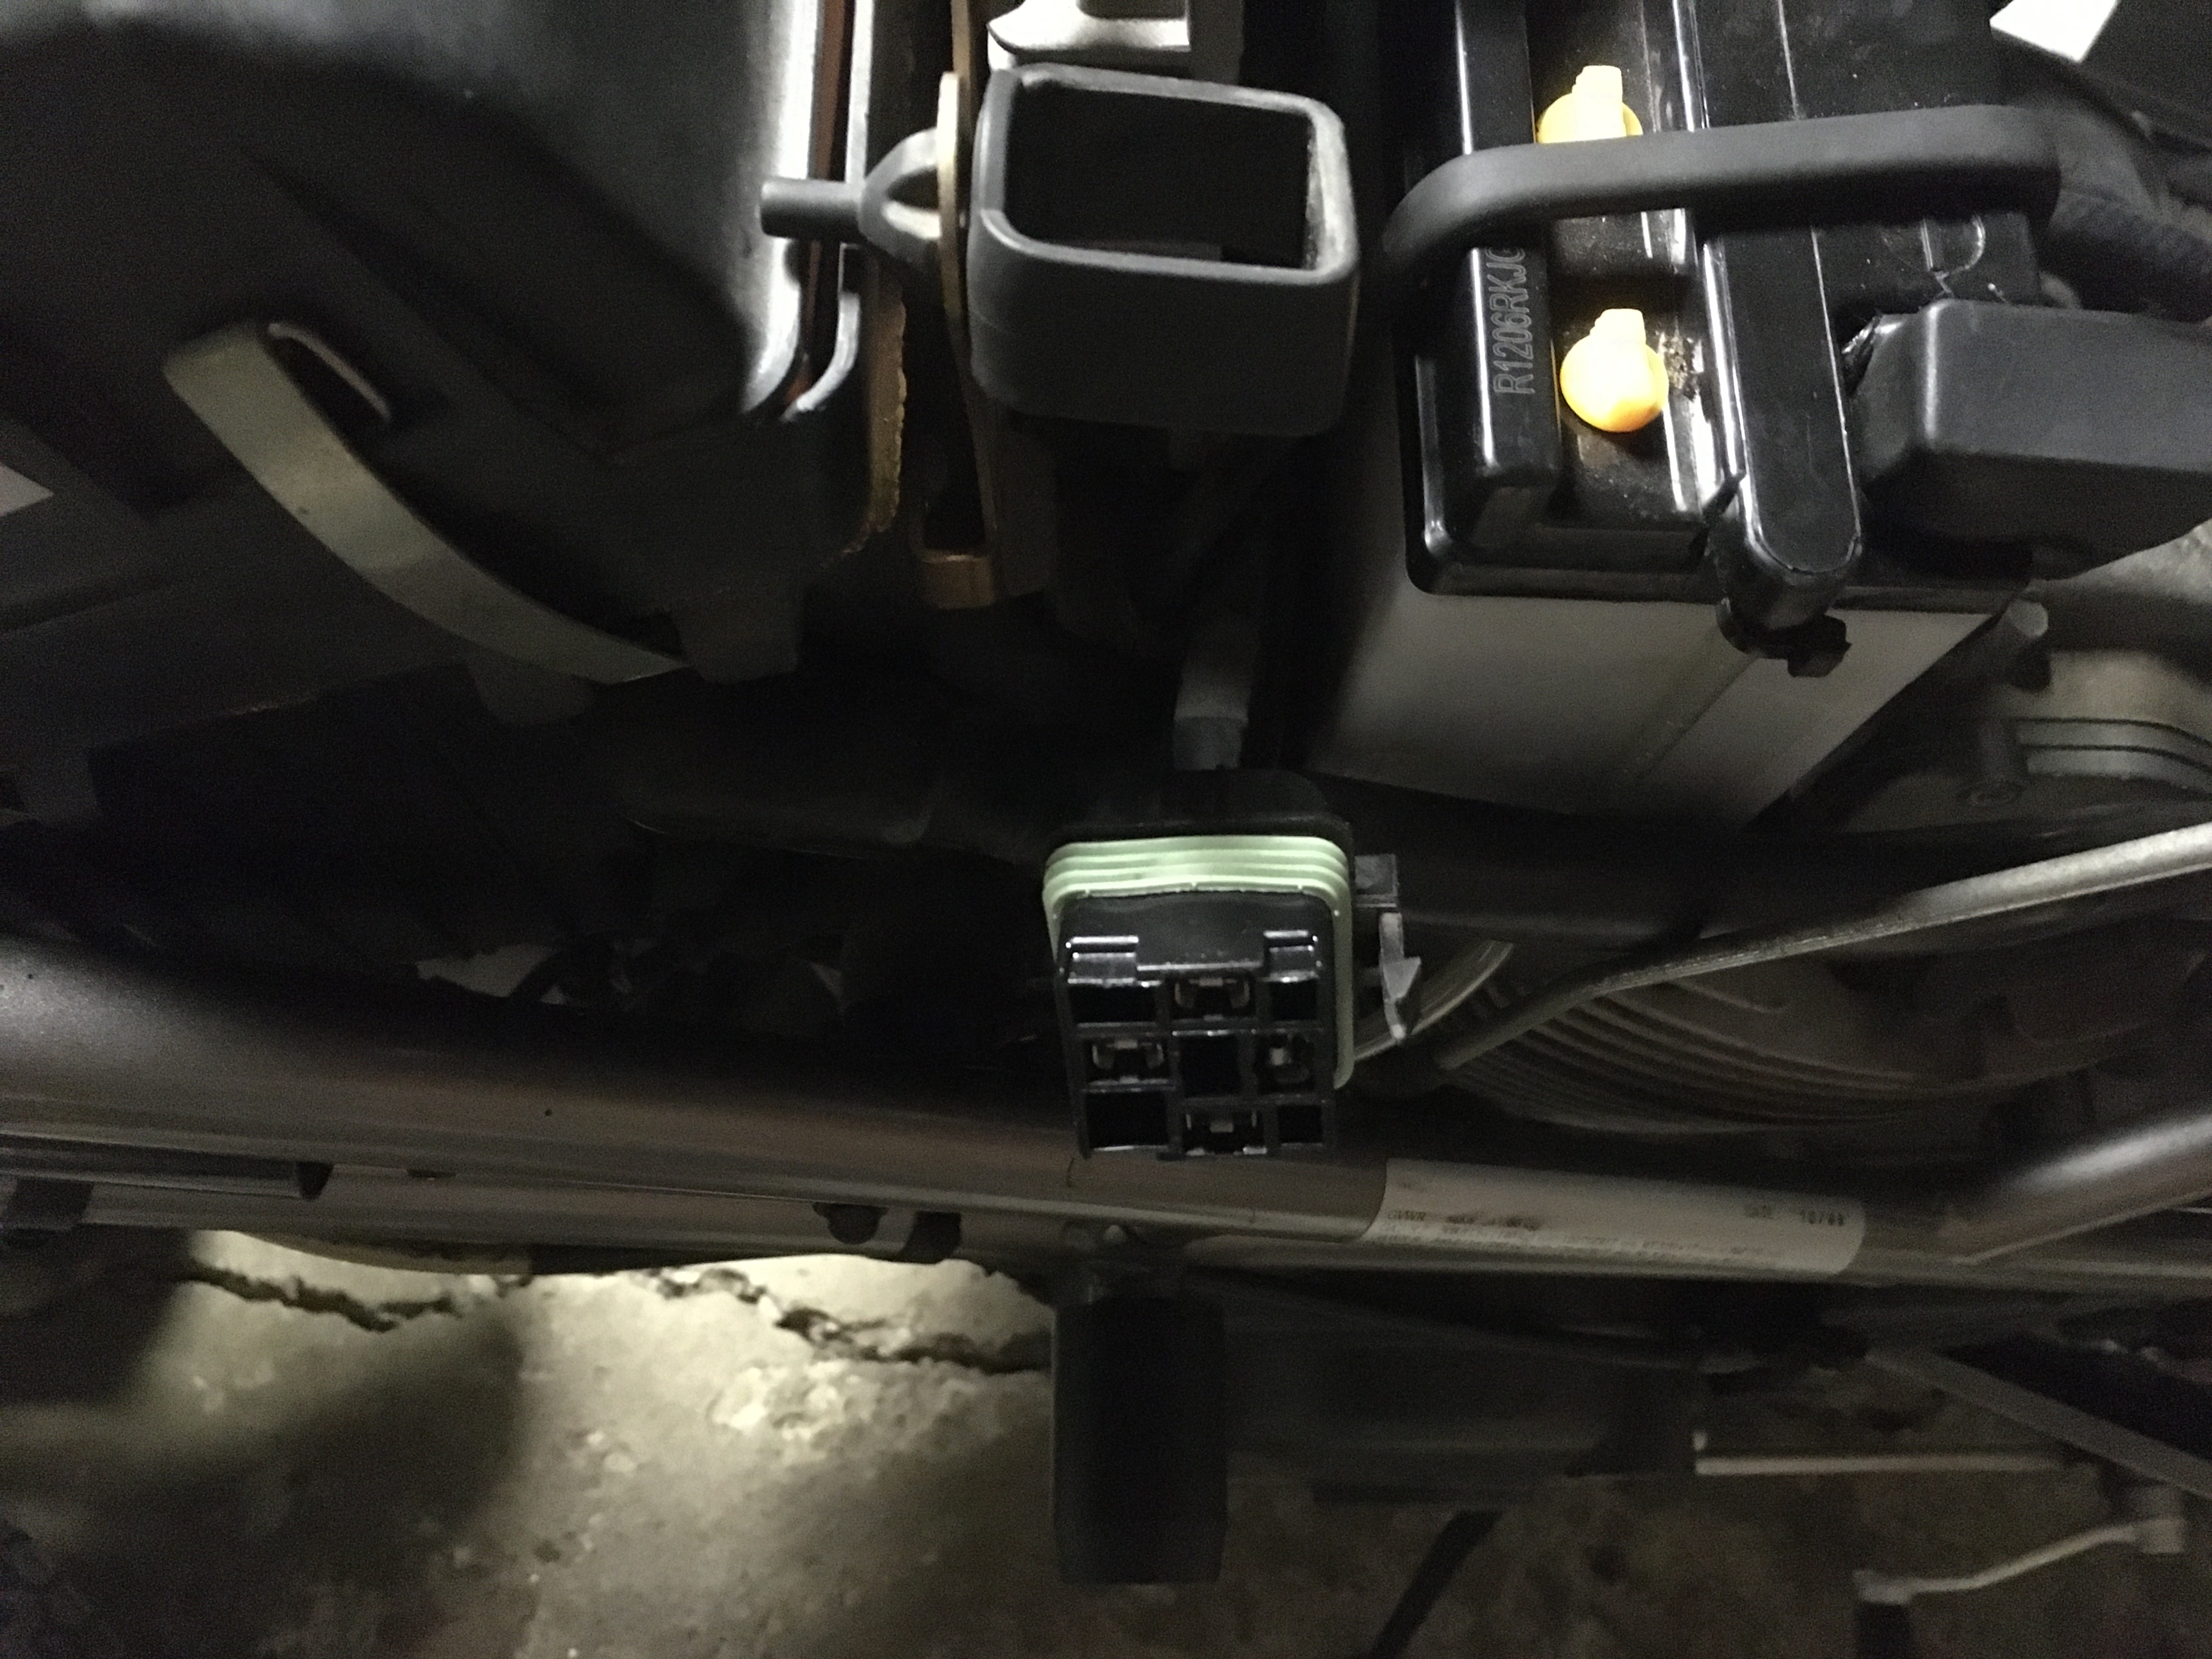
(above) Relay socket after relay is pulled off. |
 |
|
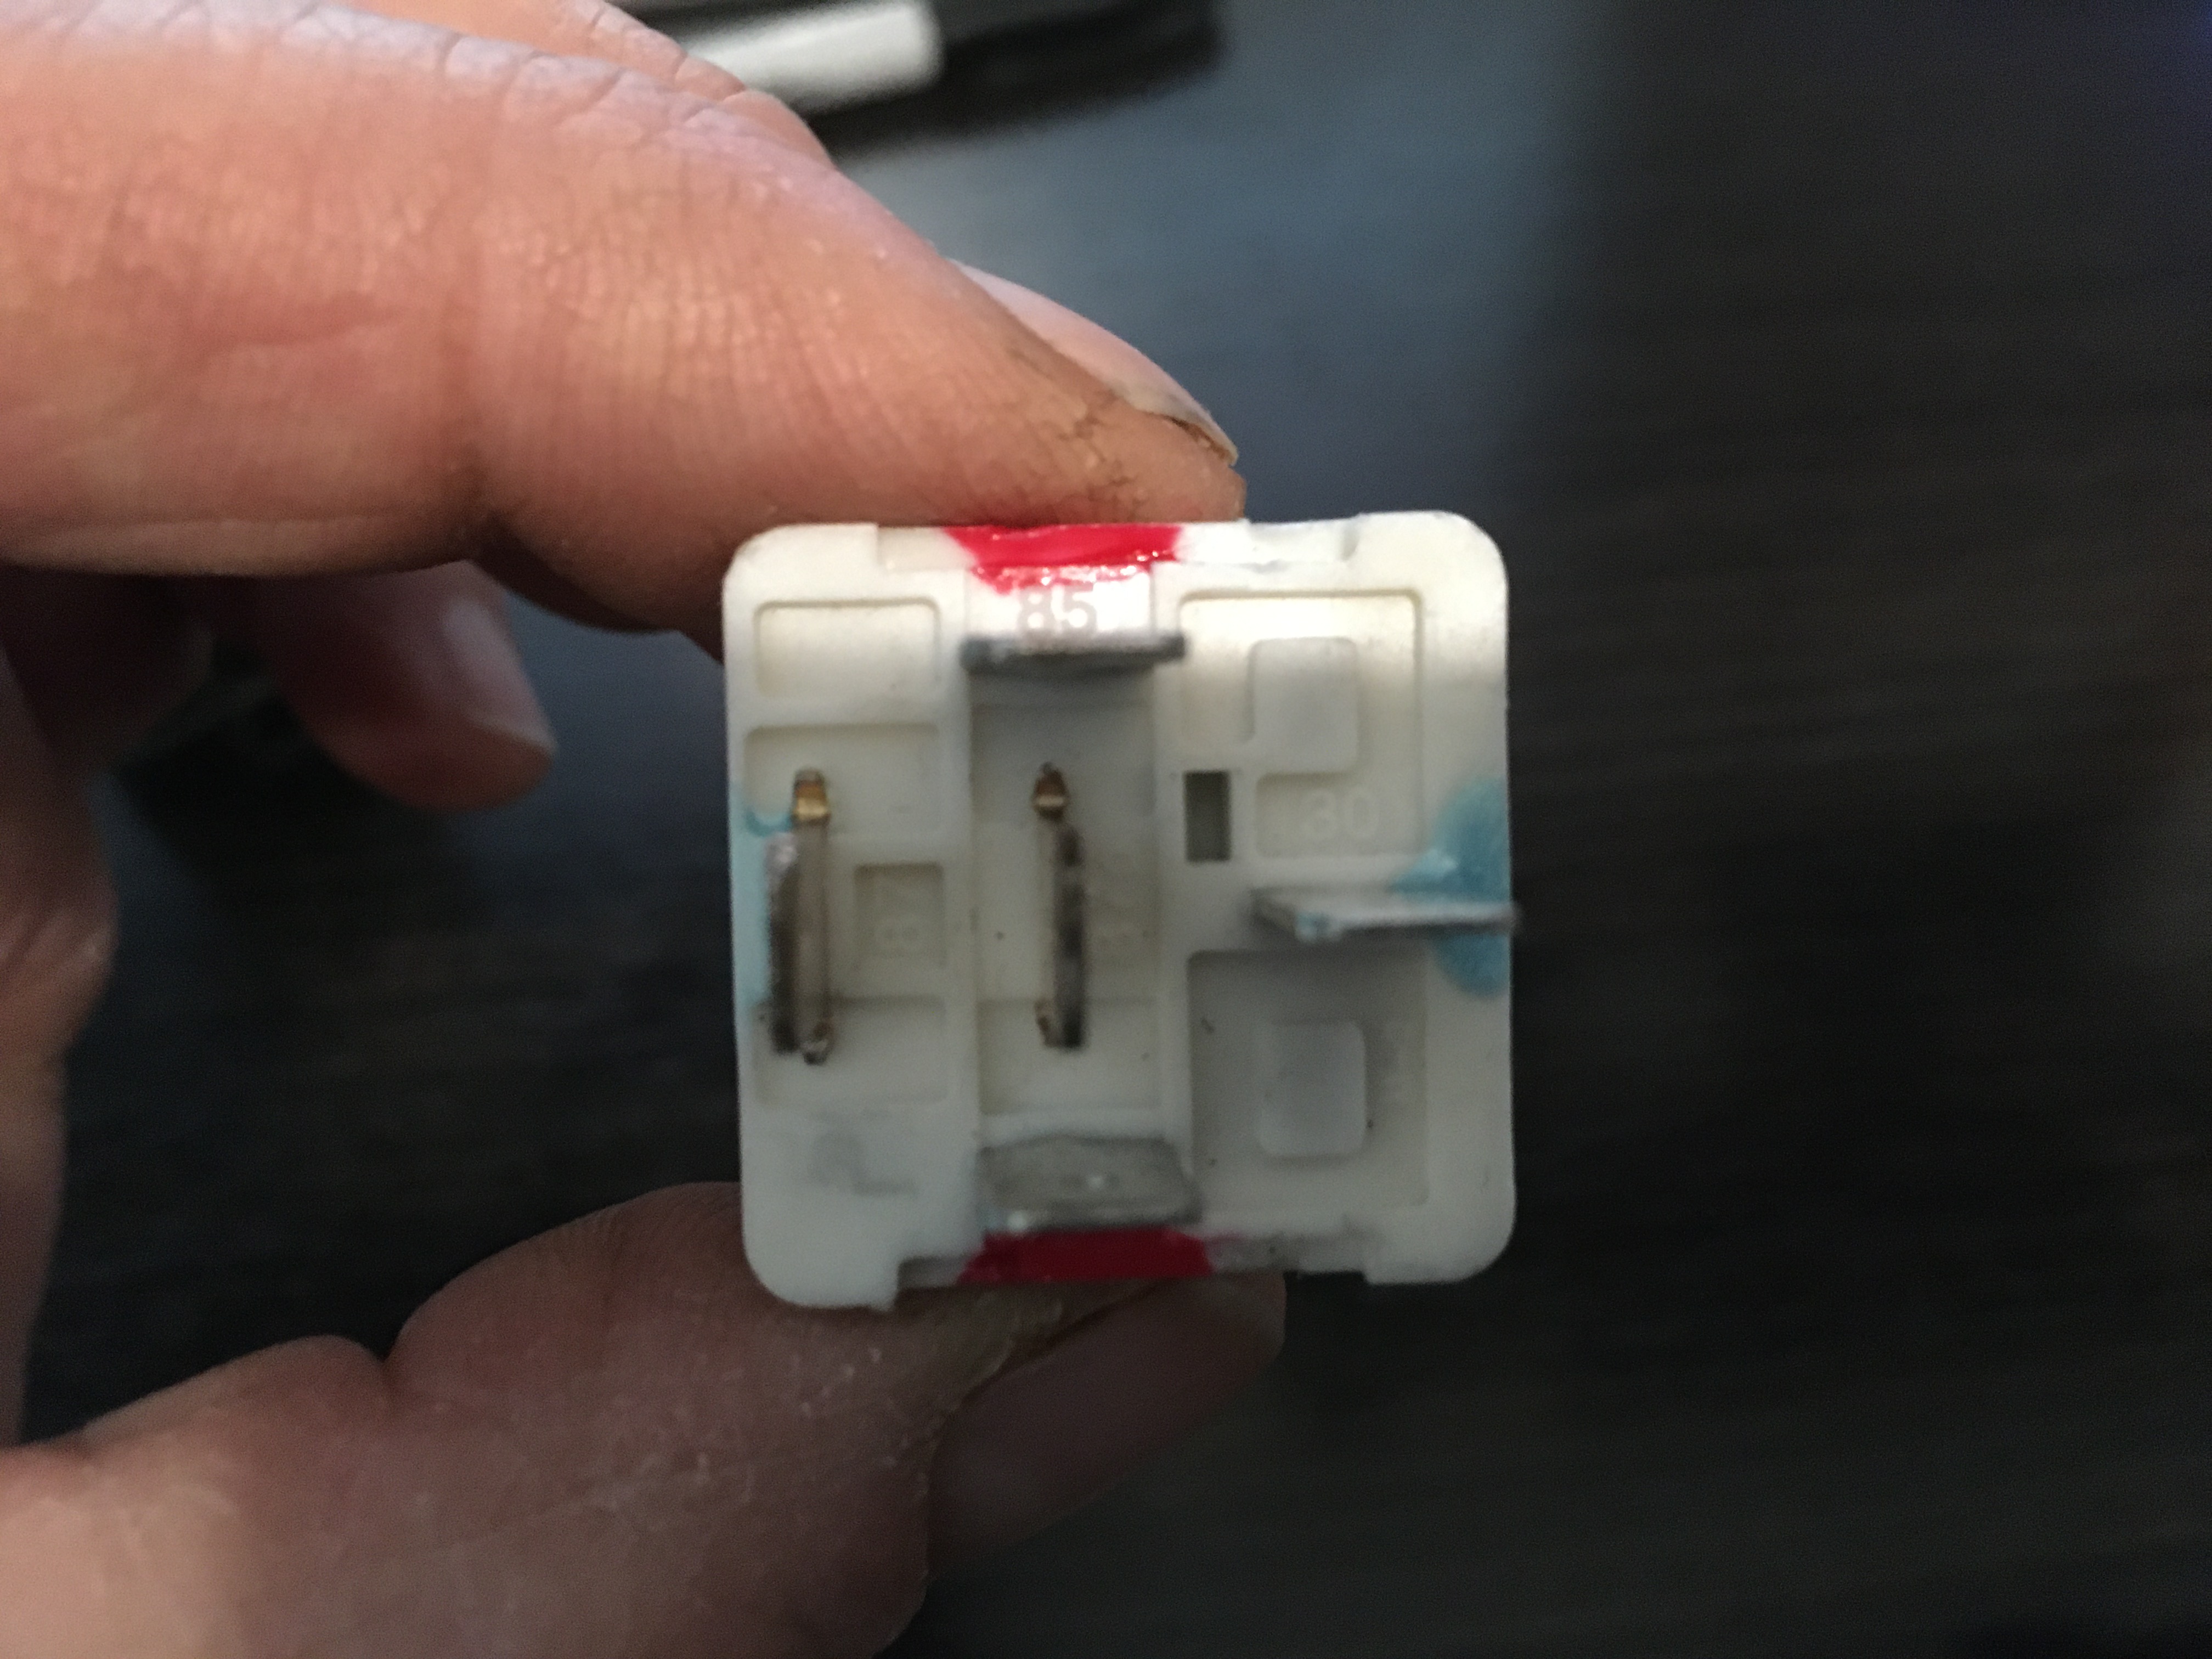
(above) The terminals are numbered on the bottom of the relay. |
 |
|
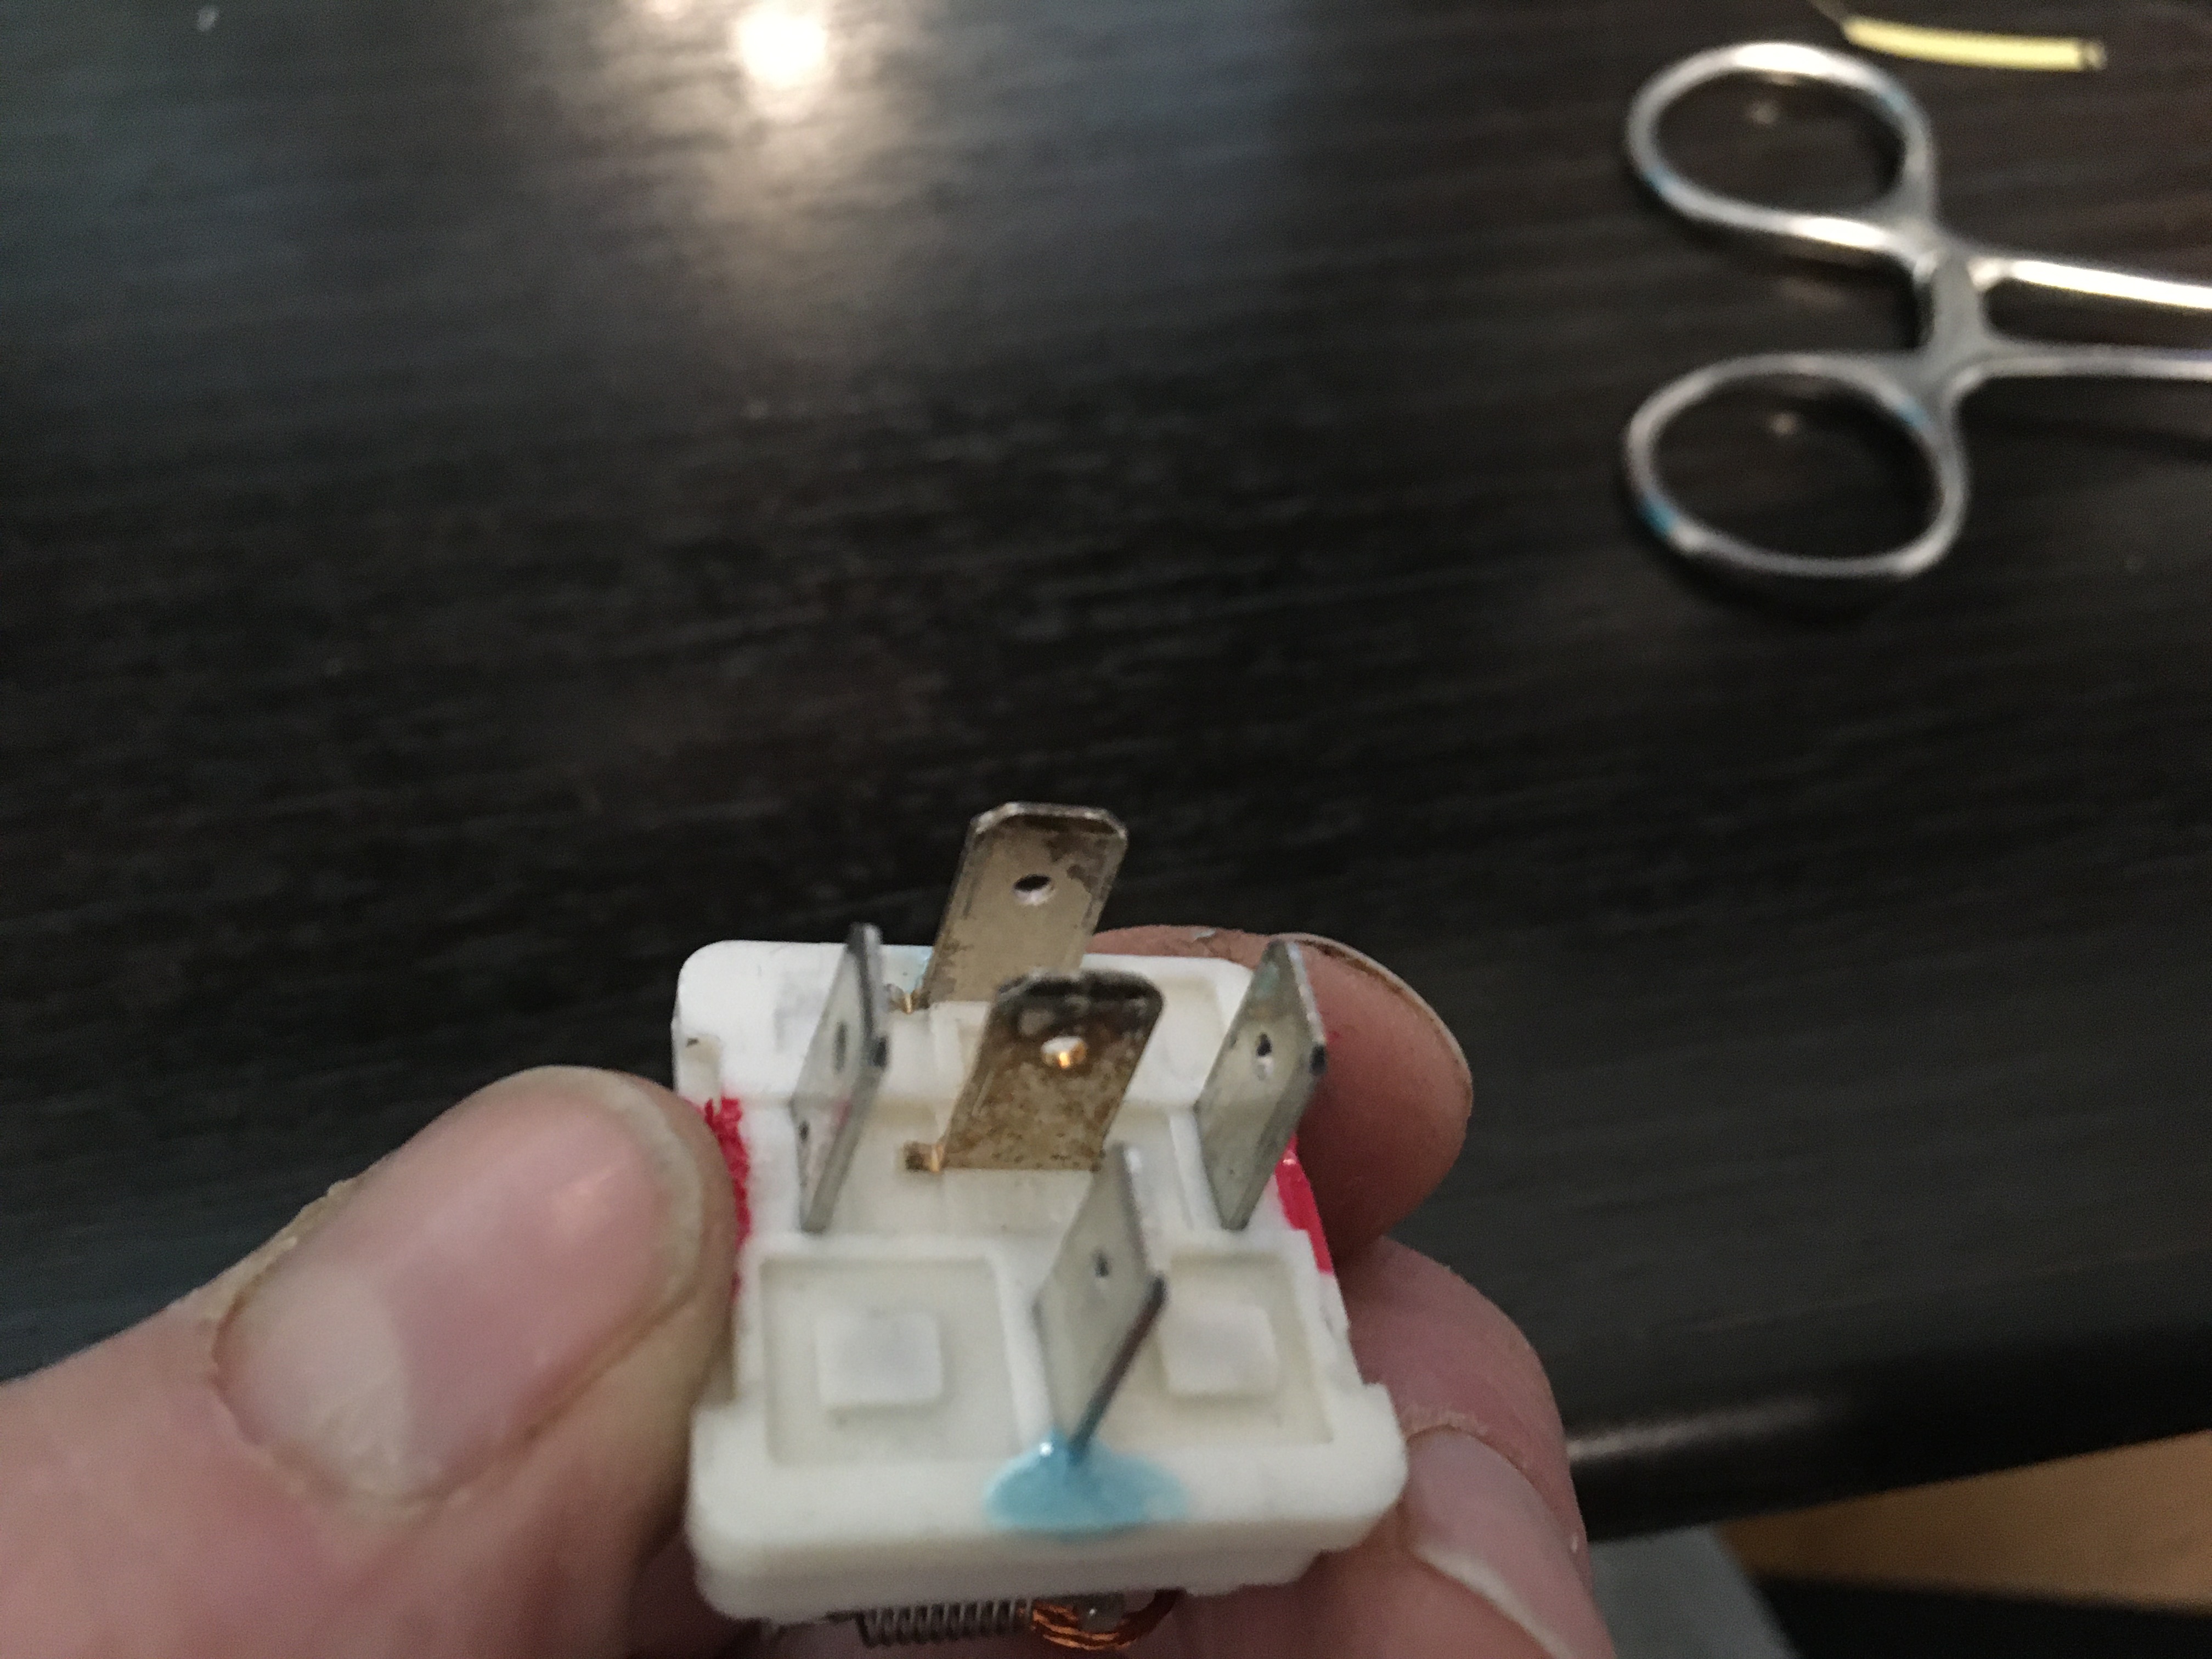
(above) Connectoritise (my word) sets in making a bad connection. The pins that are not clean should be cleaned. |
 |
|
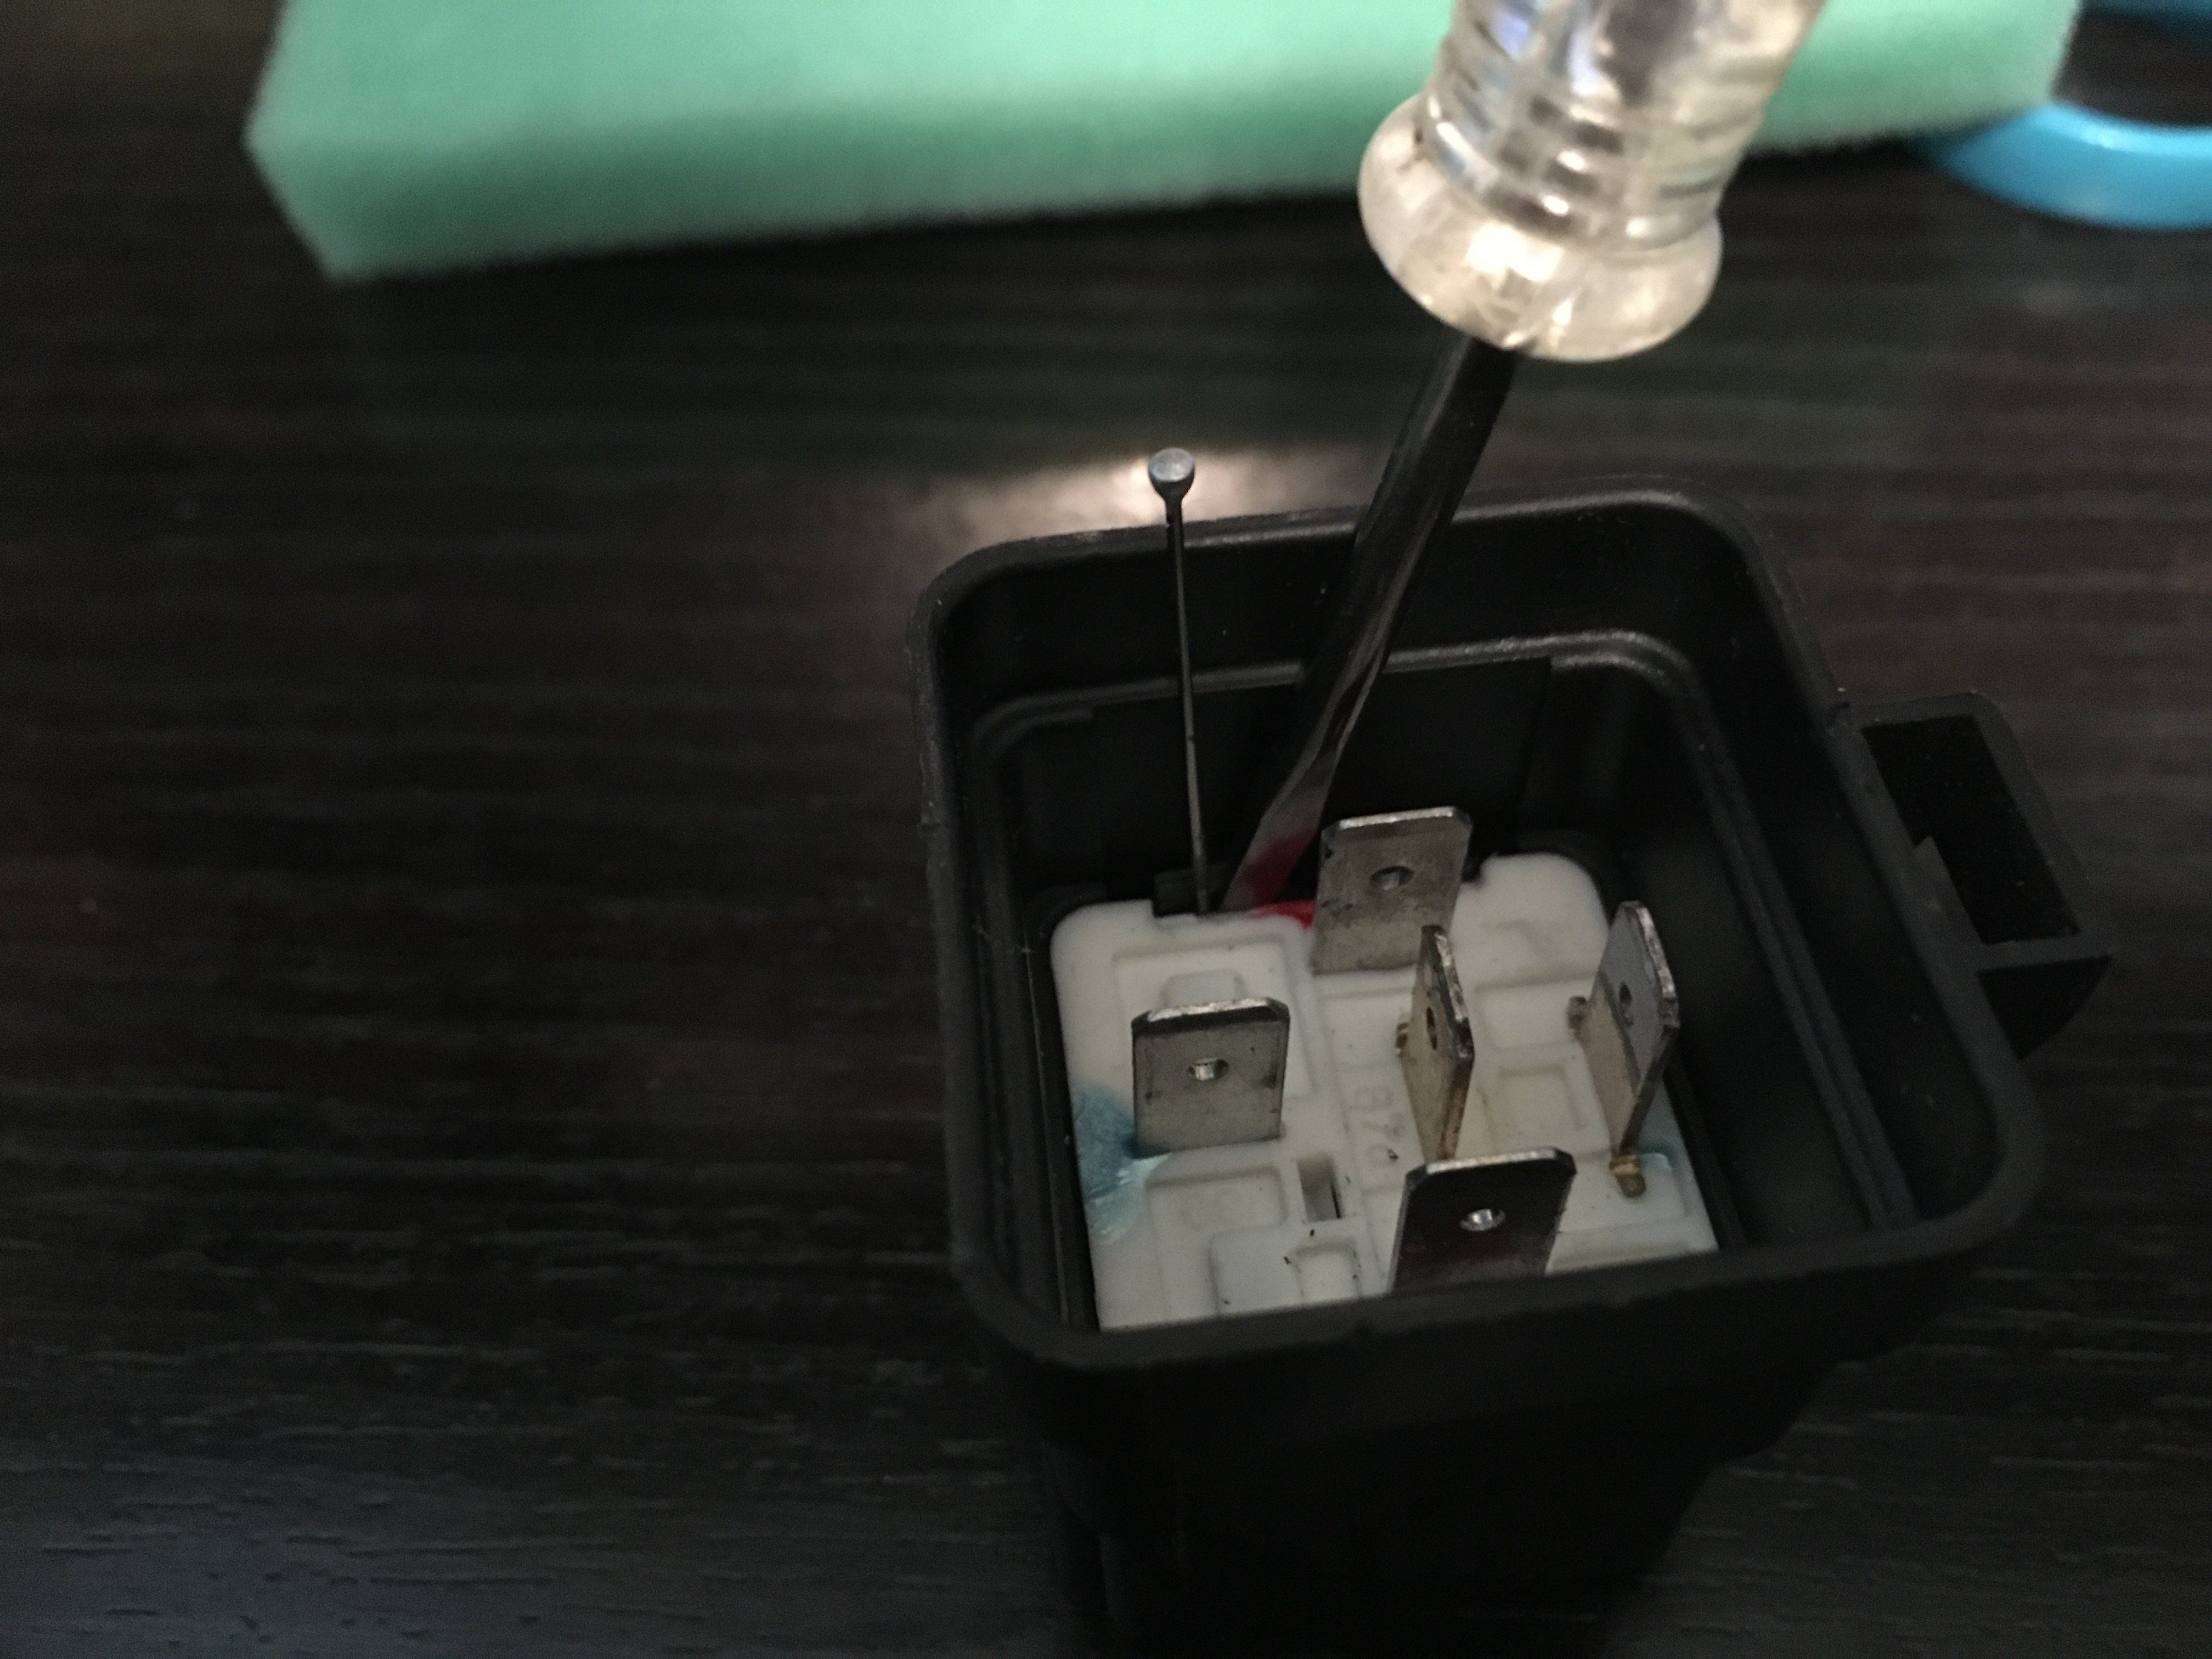
(above) This is how to clean the contact points inside the relay. You have to take the relay apart. To do this pry the relay from the case by first inserting a small screw driver and then placing a straight bin between the case and the relay to keep the tabs from locking. The picture does not show it but when finished there should be four pins seperating the case from the relay where the locking tabs exist. If you look down in there when prying it with the screwdriver you can see the locking tabs. Contact cleaner can be purchased to spray and clean the contacts and terminals (Auto store?). If possible it would be best to use both the sandpaper to get rid of any pitting and the cleaner to finish cleaning it. |
 |
|
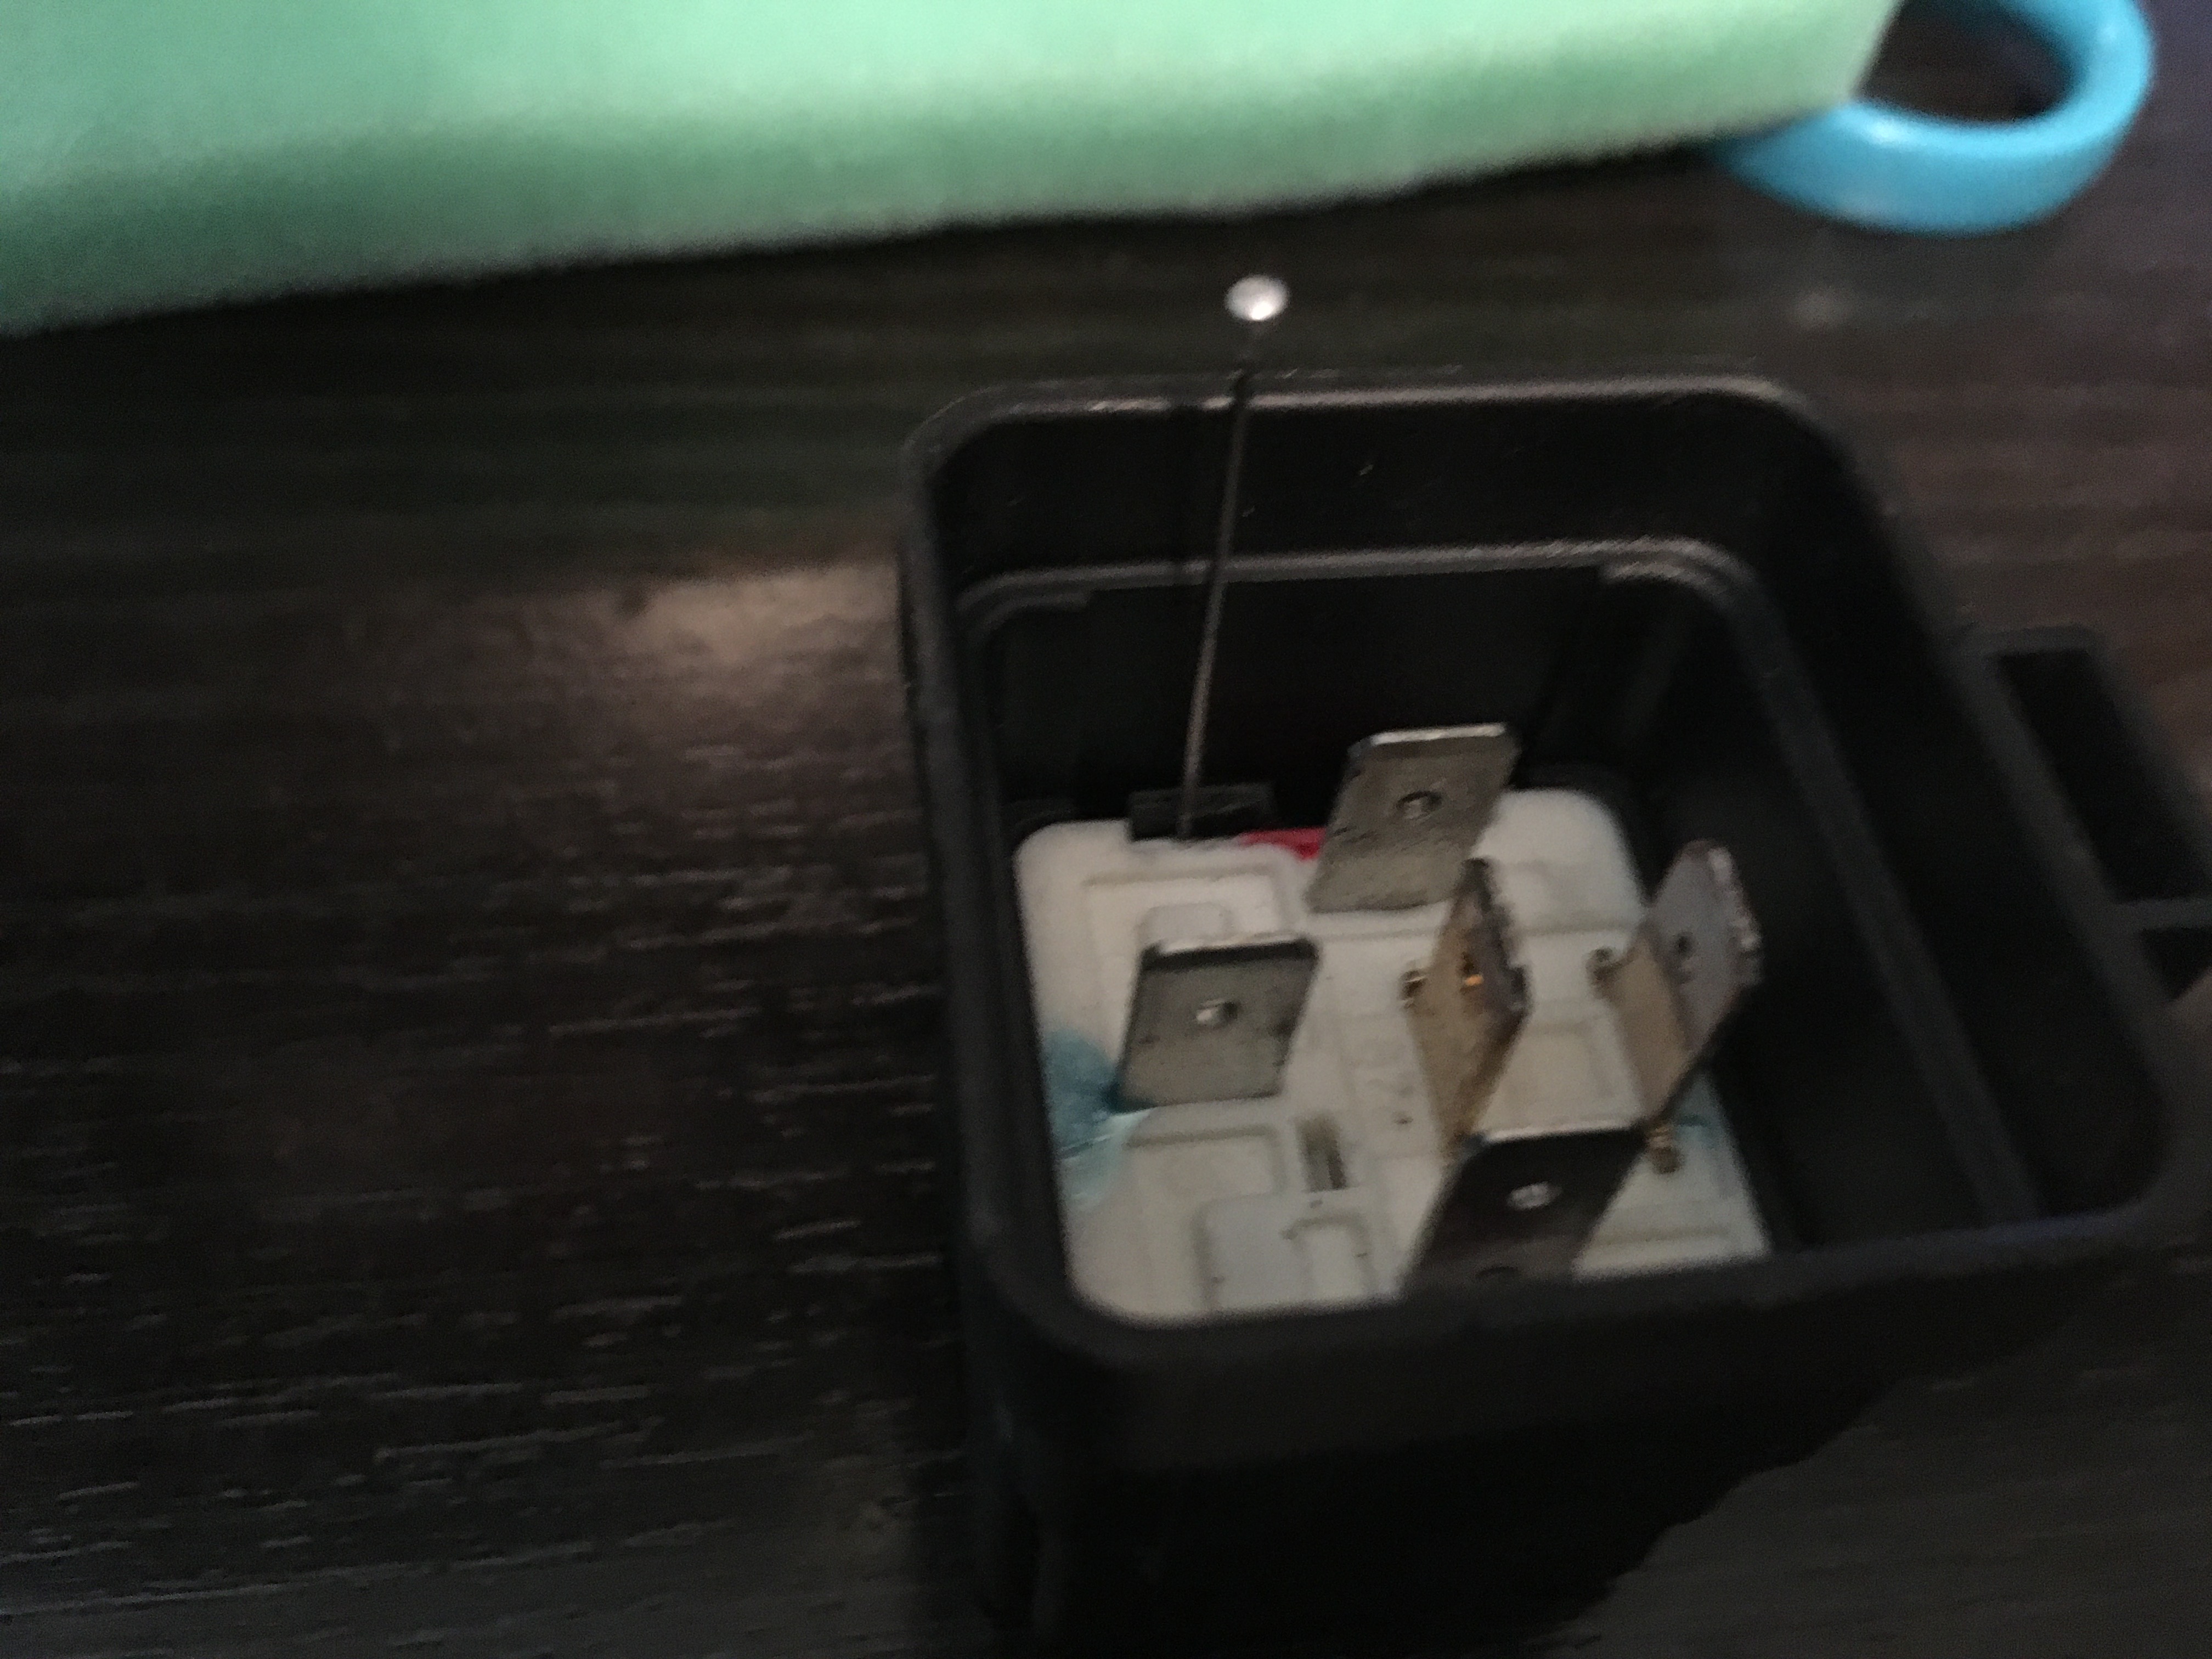
(above) Only one pin shown in this image, when it is ready to be pulled out there should be four pins. |
 |
|
(above) One all four pins are in place take a pliers and it should pull right out using the center terminal. If it does not pull out easily the pins may not be properly installed to separate the locking tab and should be checked. |
 |
|
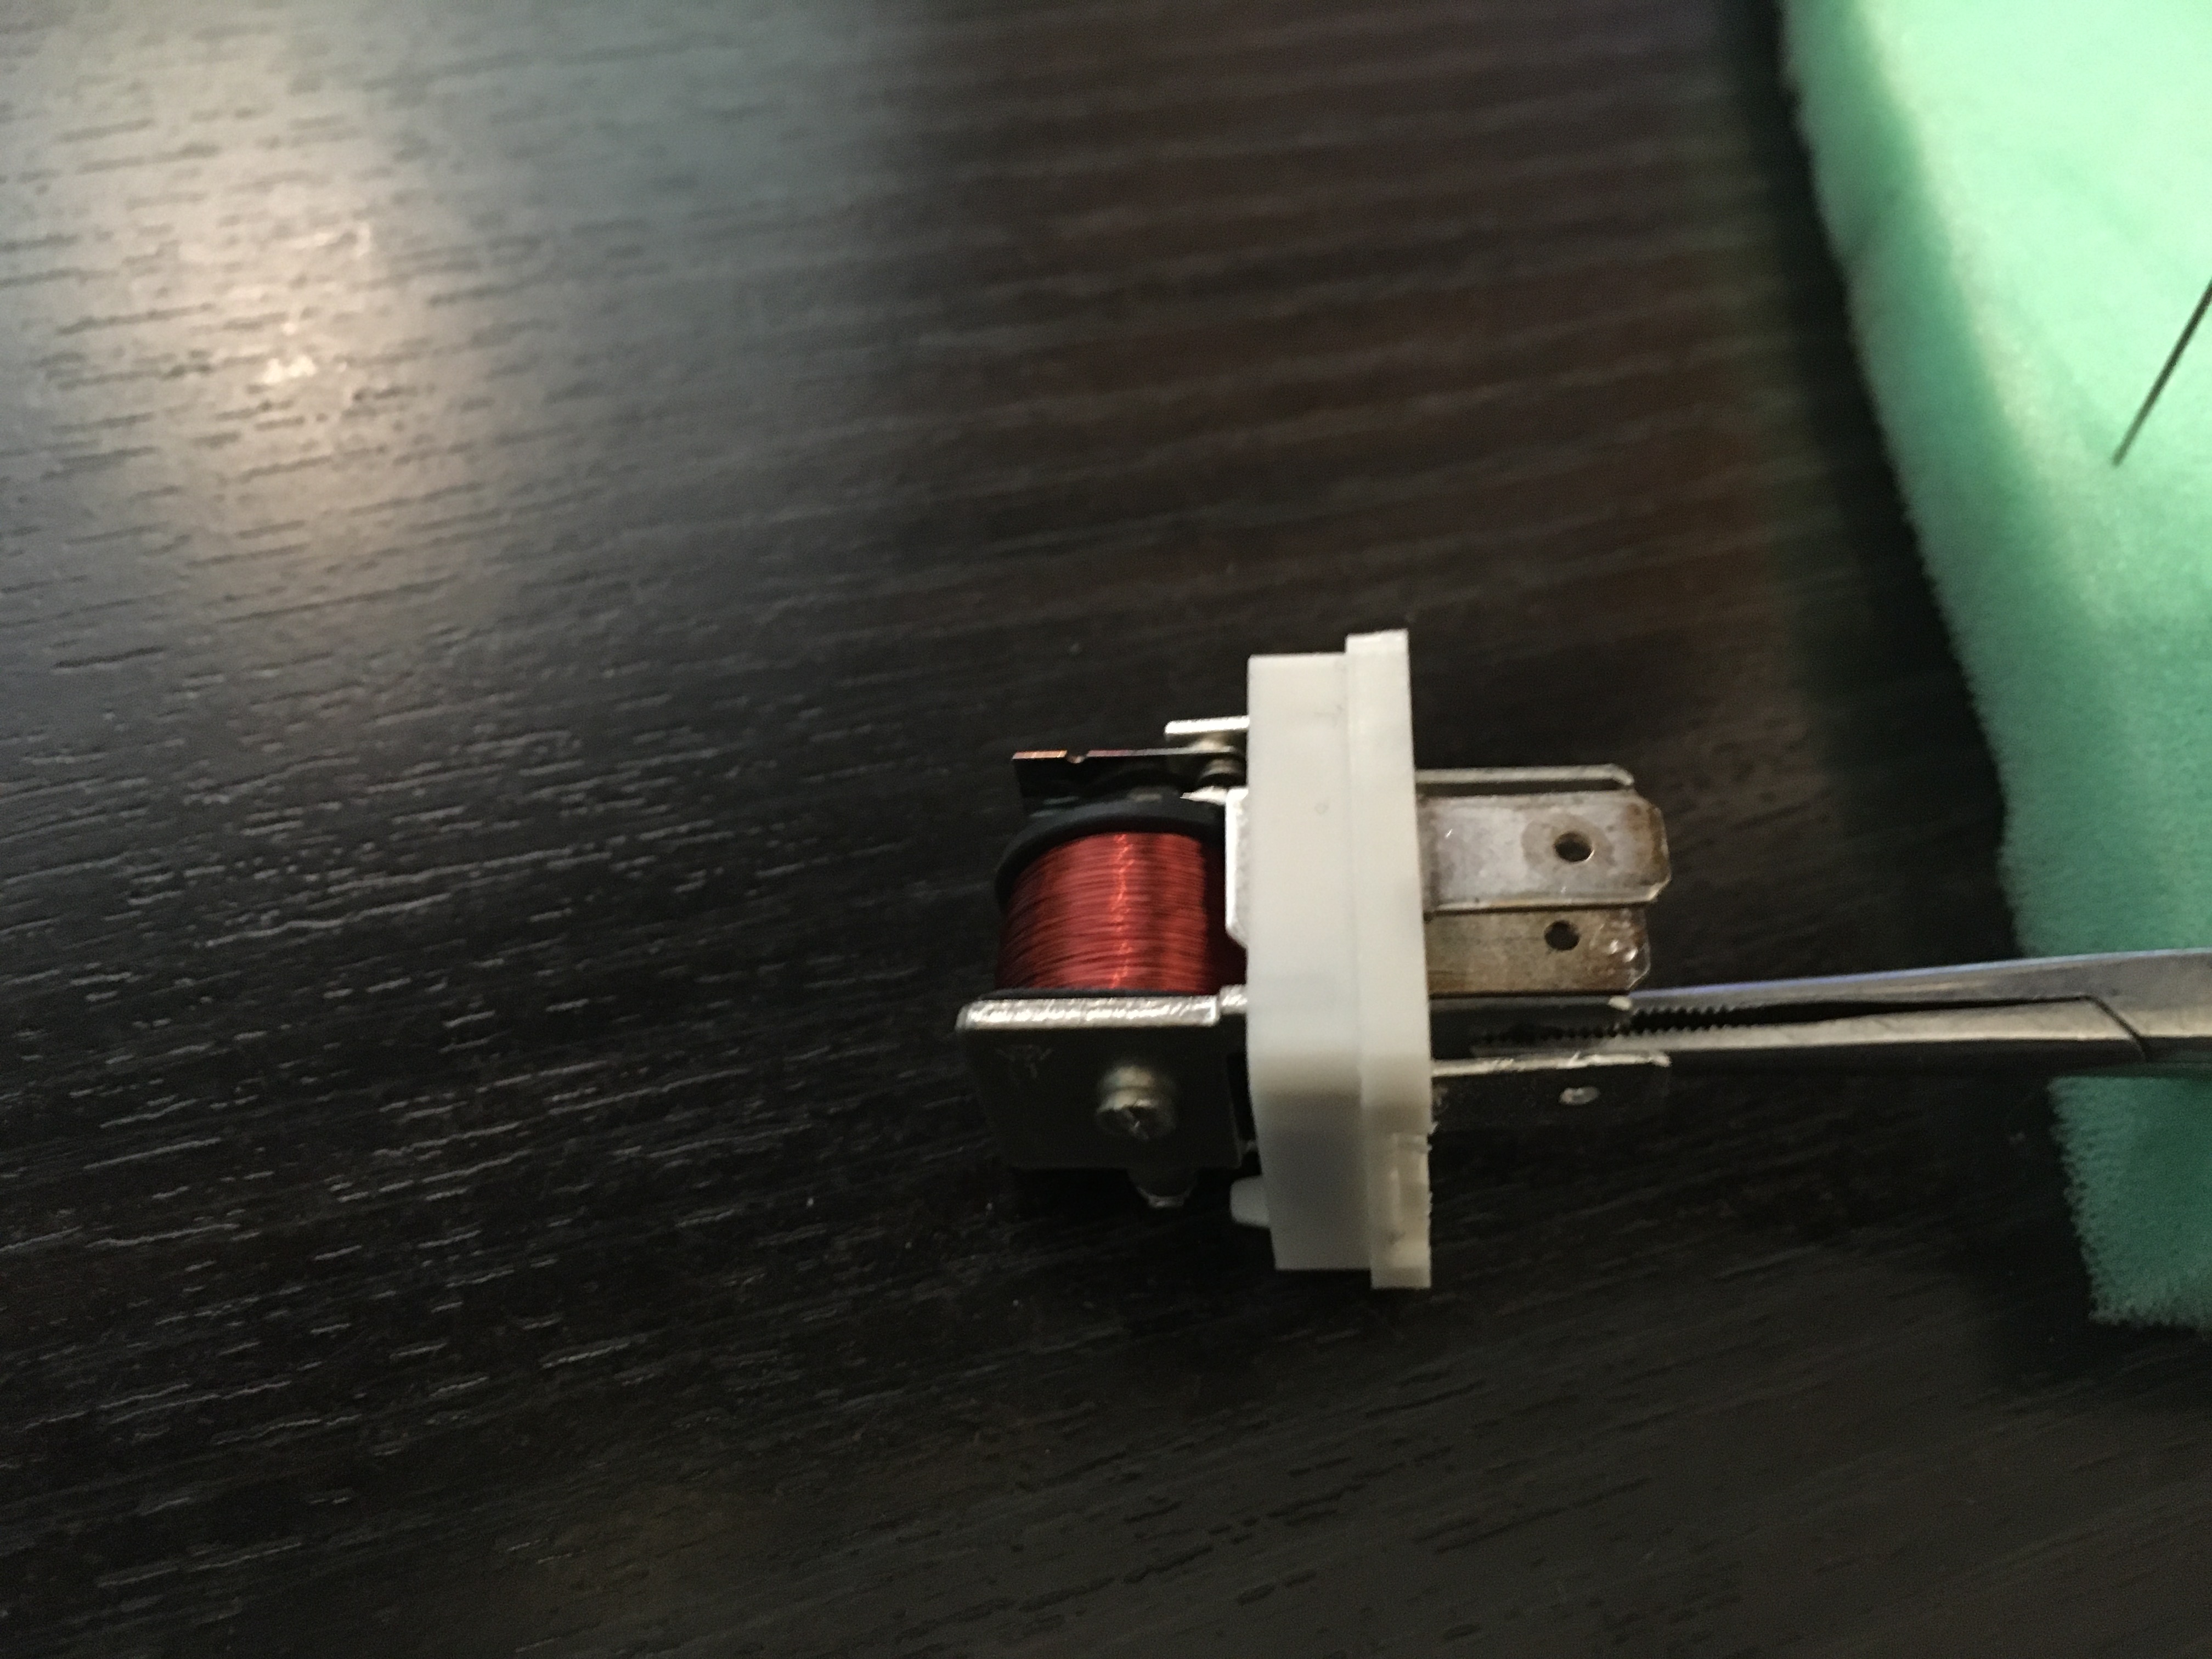
(above) Relay is out of the case. |
 |
|
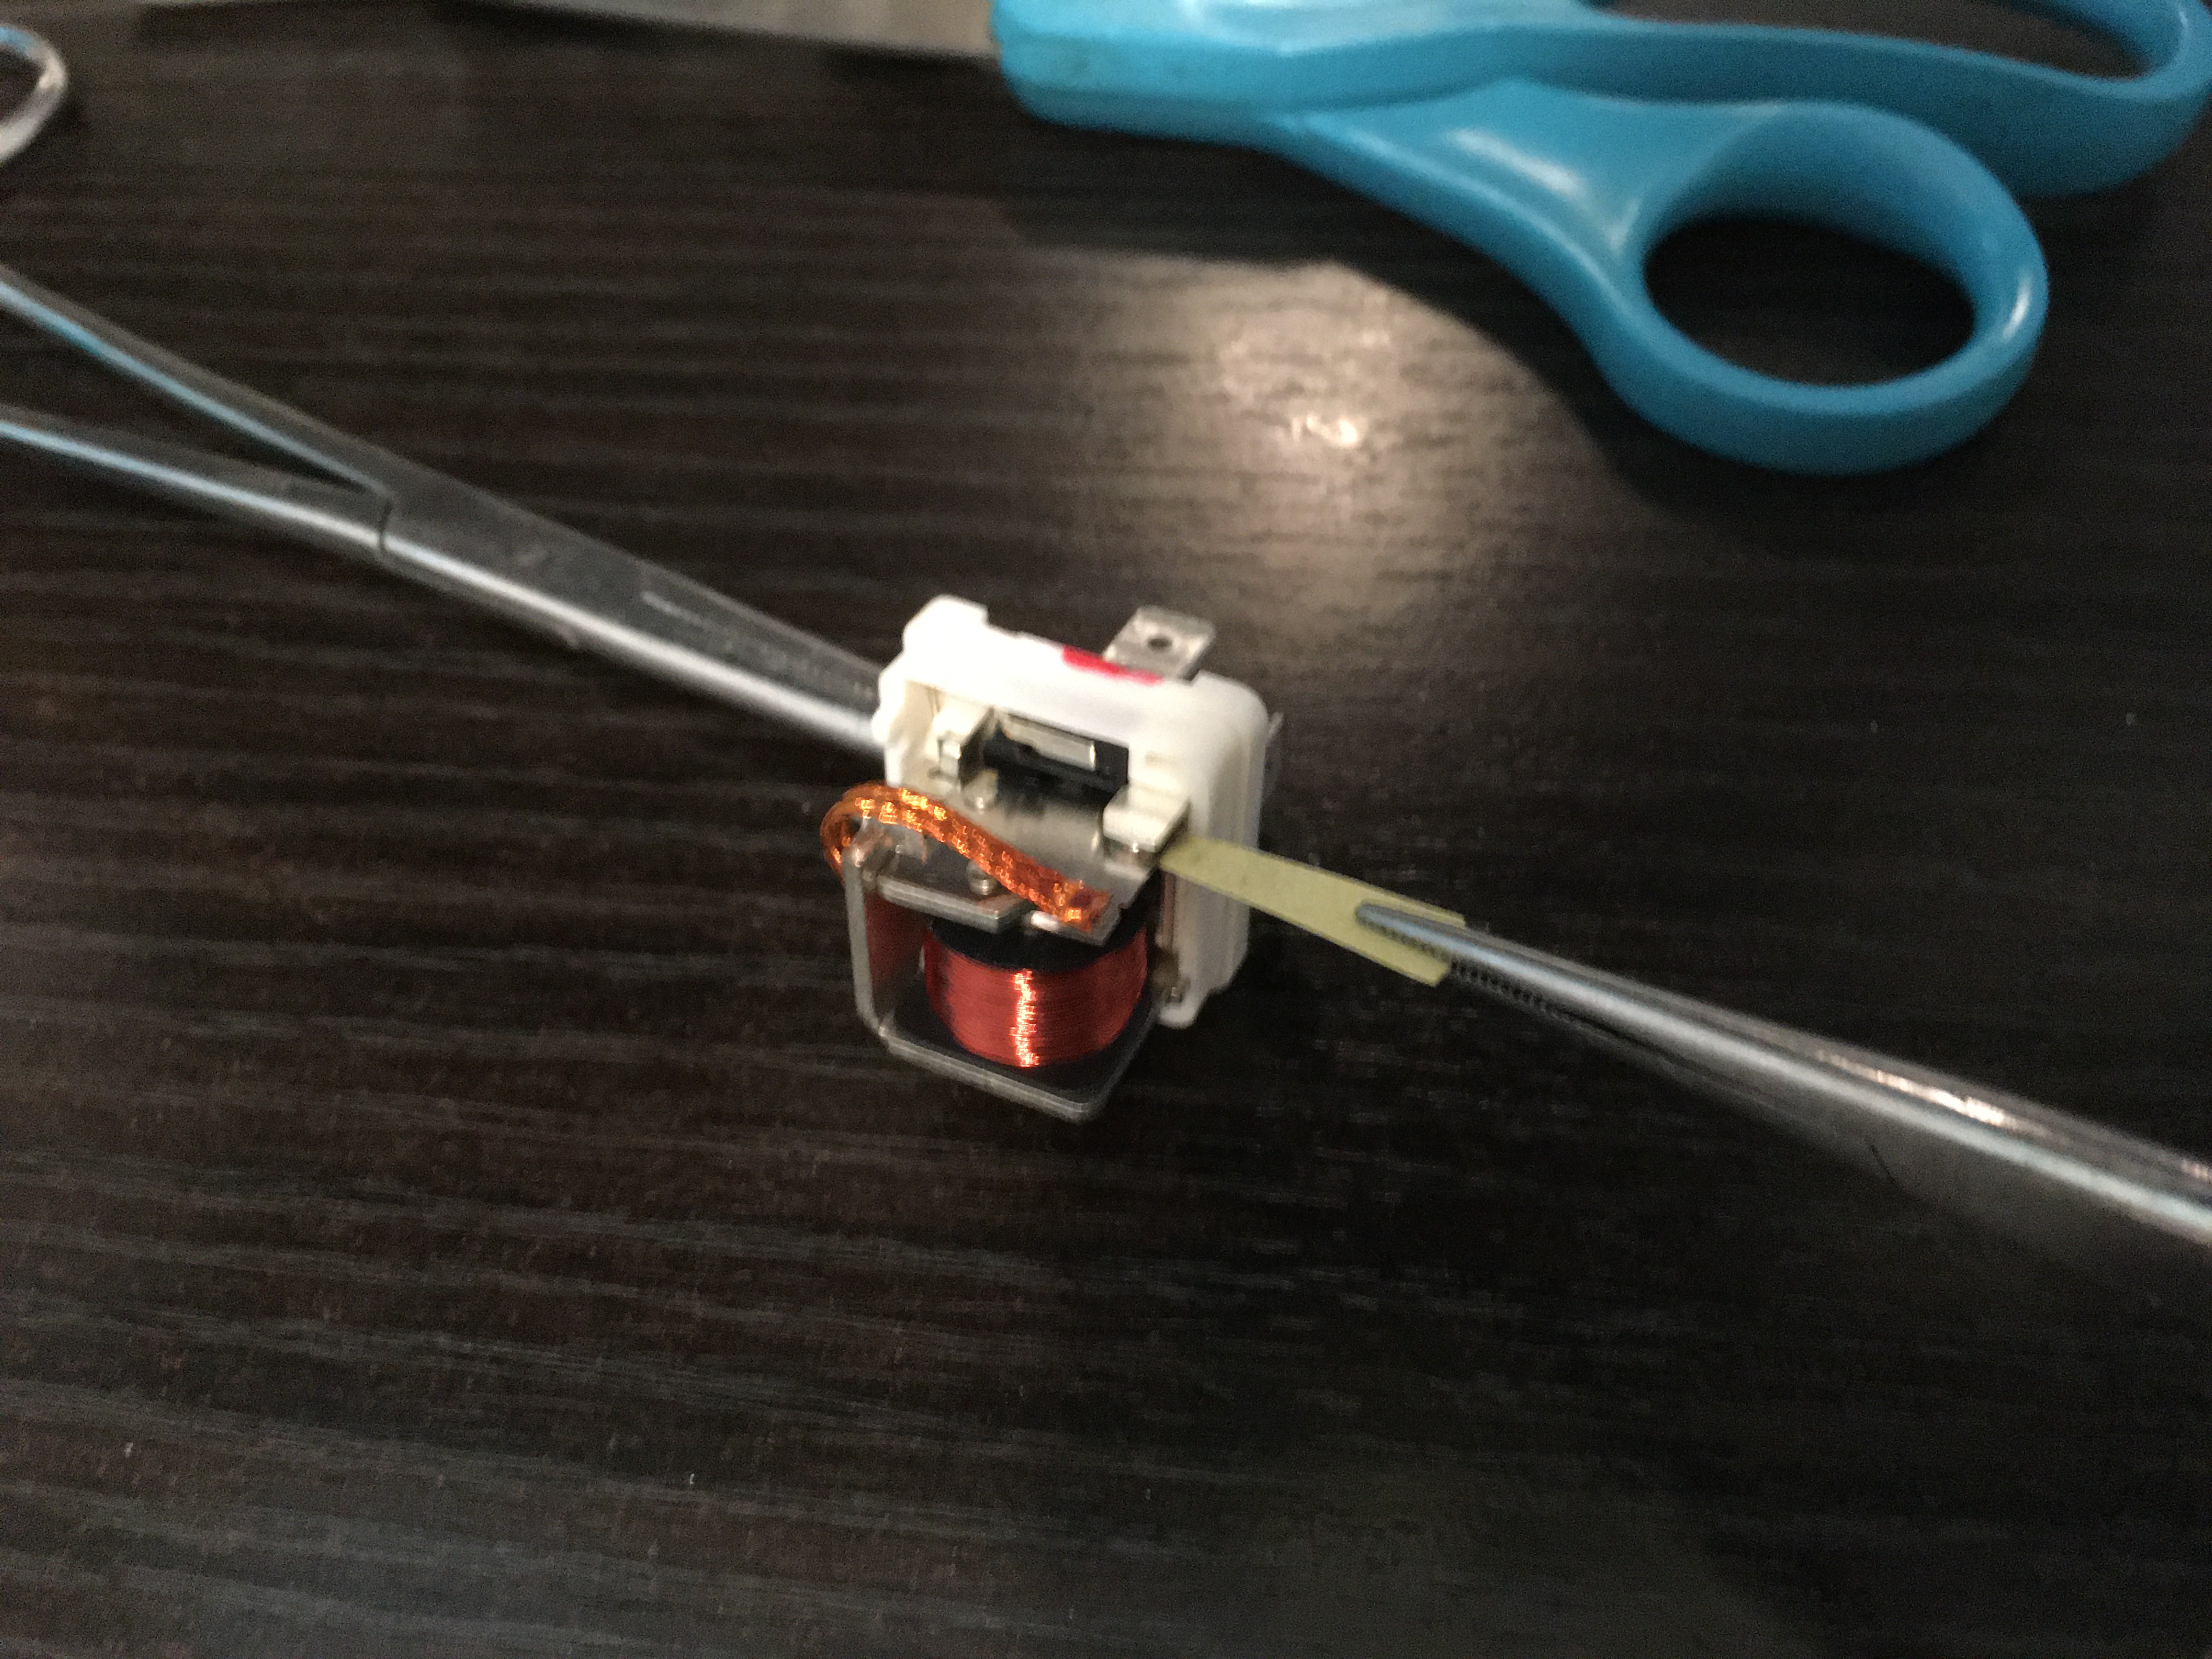
(above) This is a pic of the points (landing contact surface) that need to be cleaned. I was surprised to see the points did not line up more centered but shold be ok. Do not try to straight or bend anything in here as the relay is somewhat calibrated. To clean the points a fine grit sandpaper should be used (#600). The parts that need to be cleaned are open, they close when the relay is activated. A small piece of sandpaper is inserted in the gap. Hold the relay close with your fingers and pull a strip of sandpaper through. Repeat this several times (20 times should be sufficient). Now turn the sandpaper over and do the other side same way (20times). |
 |
|
(above) Do not try to straight or bend anything in here as the relay is somewhat calibrated. To clean the points a fine grit sandpaper should be used (#600). The parts that need to be cleaned are open, they close when the relay is activated. A small piece of sandpaper is inserted in the gap. Hold the relay close with your fingers and pull a strip of sandpaper through. Repeat this several times (20 times should be sufficient). Now turn the sandpaper over and do the other side same way (20times). When finished simply push the relay back into the case and put it back together. |