I wanted to re-locate my seat lock so I bought a few things and added another lock.
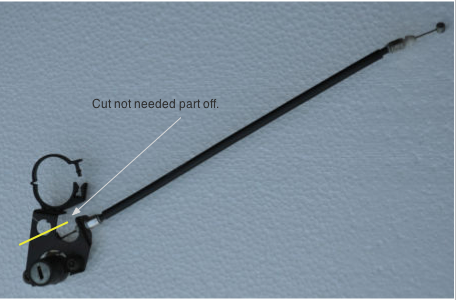
Lock cable and bracket off ebay, no key (FJR1300 '05) $6.50
Screws spacers, washers and cable end. $7.00
Bicycle cable (5ft). $6.50
The Main of it all.
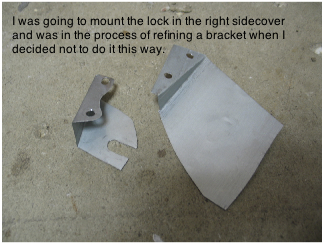
1. Cut the access metal off the bracket with some snips.
2. Pulled the cable ends off the cable.
3. Cut the new cable to the length I needed.
4. Pushed the tips from the old onto the new cable.
5. Drilled three holes in the side plastic tray.
6. Pulled three pins out of the lock so my key would work.
7. Installed
I didn't mention the details like painting it or how I positioned the lock but all came
out fine and I can unlock my seat with either lock.
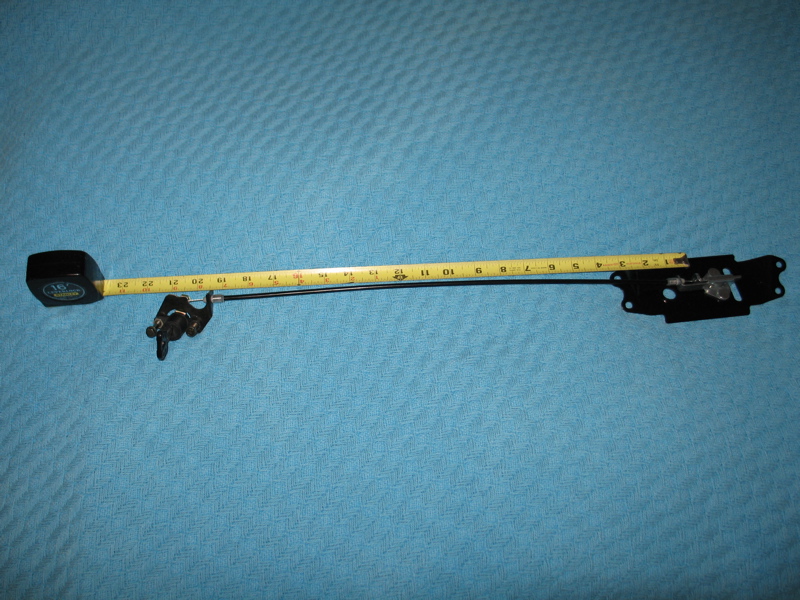
I purchased a lock, bracket and cable off ebay for $6.50 including shipping. It had no key.
The length would work and would be fine enough if you wanted to locate the lock in the right
side cover panel, there is enough room but is a little challenging making a bracket to mount
the lock to the bike. You would need to cut a 20mm hole in the side of the panel also. This
was my first choice and I was working on a second mockup bracket when I changed my mind. I
decided I did not want to make a hole in my side panel and thought it might be in the way if
I mounted some type of bags on the bike.
|
I came very close to drilling a 20mm hole in the side
cover and mounting the lock there. I gave up while
mocking up my second bracket. I decided I wanted the
lock somewhere else.
 |
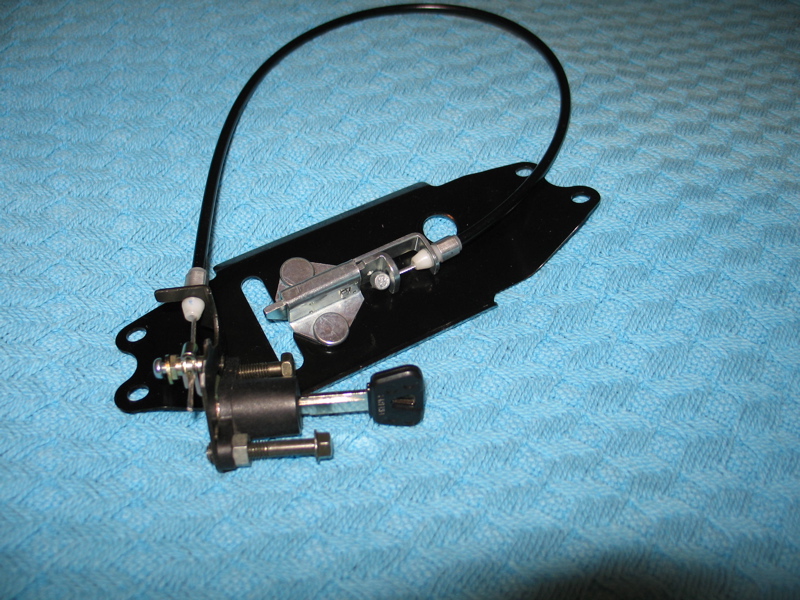
I bought this lock, bracket and cable on ebay for
$6.50, it included shipping but no key.
I cut part of the bracket off. It was from a 2005
FJR1300.
 |
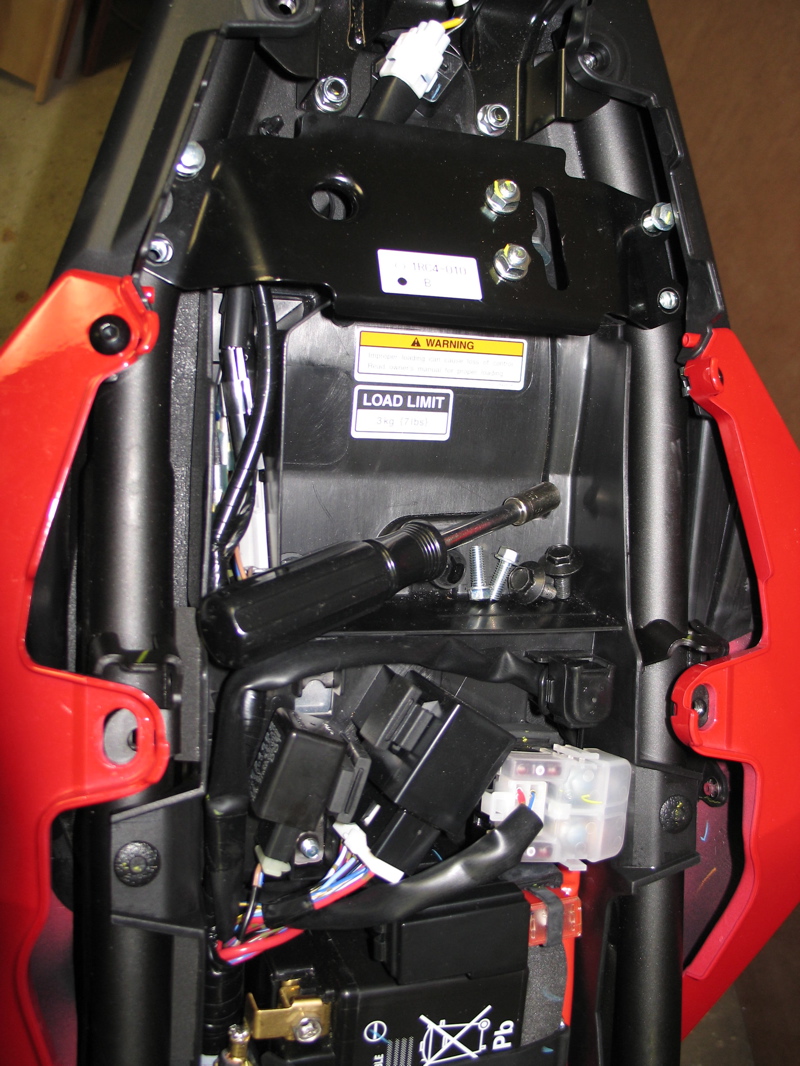
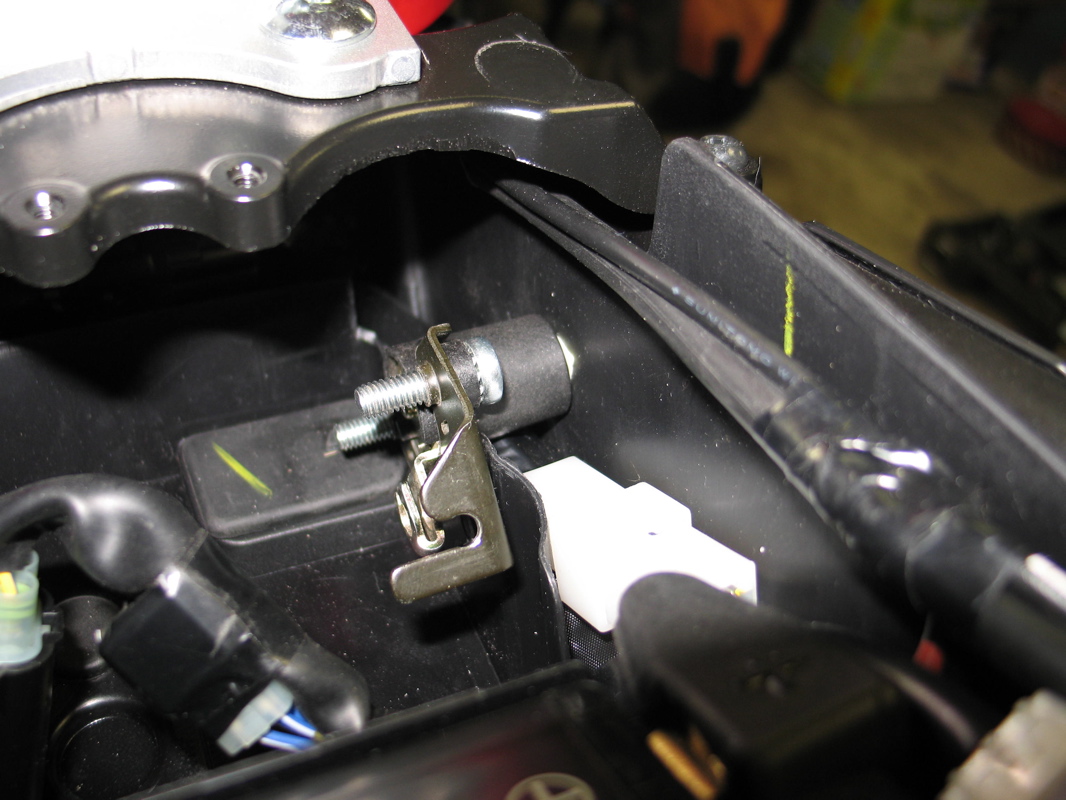
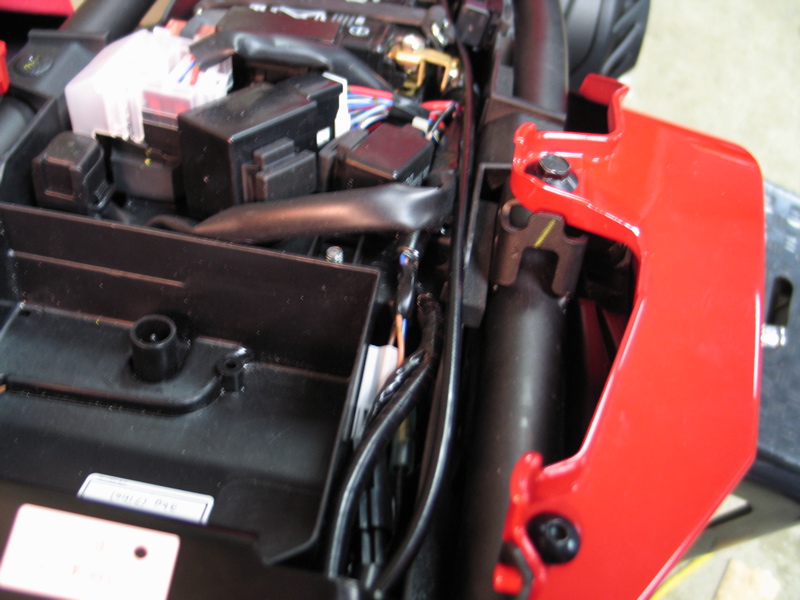
Remove four bolts, two (top of pic) in the black plasitc and two in the red plastic.
Loosen the two nuts on that hold the latch to the cross bracket.
 |
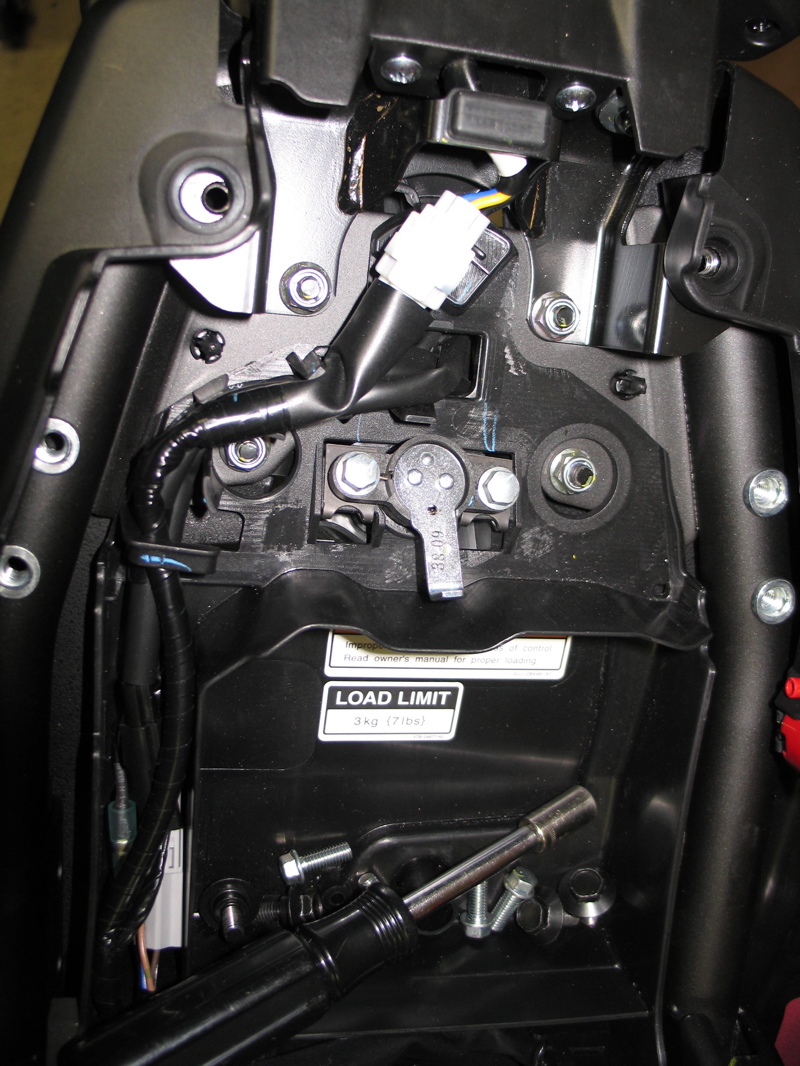
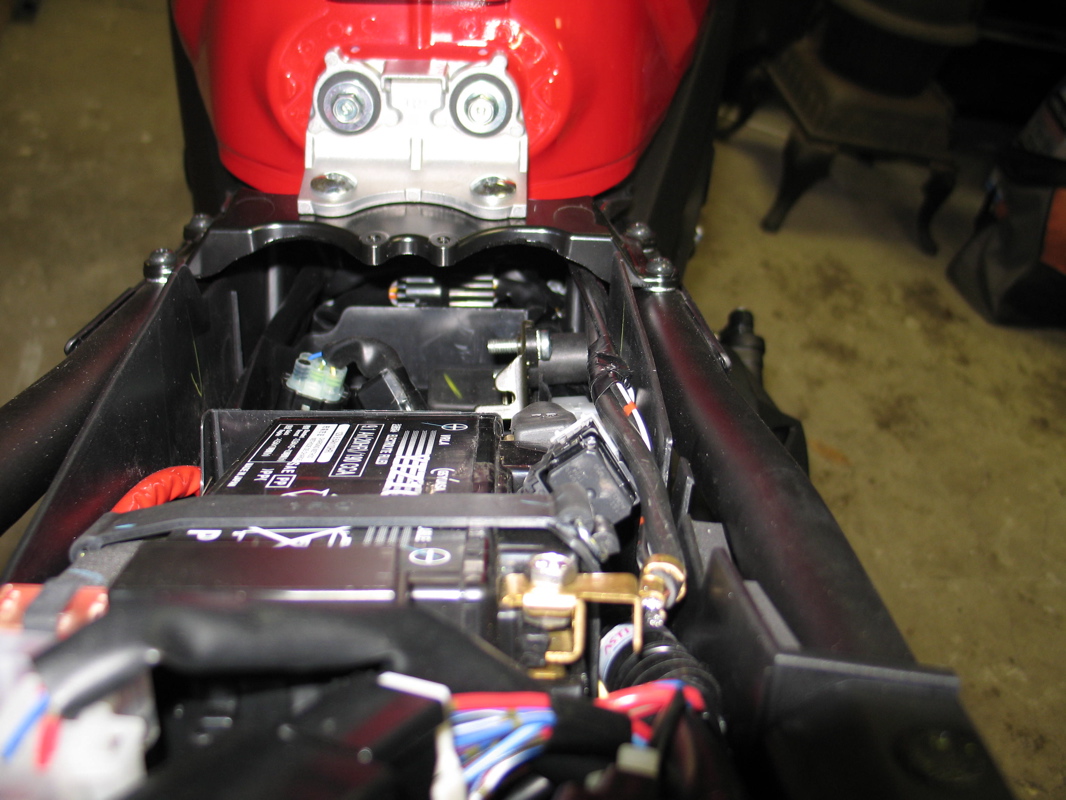
Remove the four bolts that hold the cross bracket to the frame and remove. You can push and hold
the plastic out of the way to get to the bolts.
 |
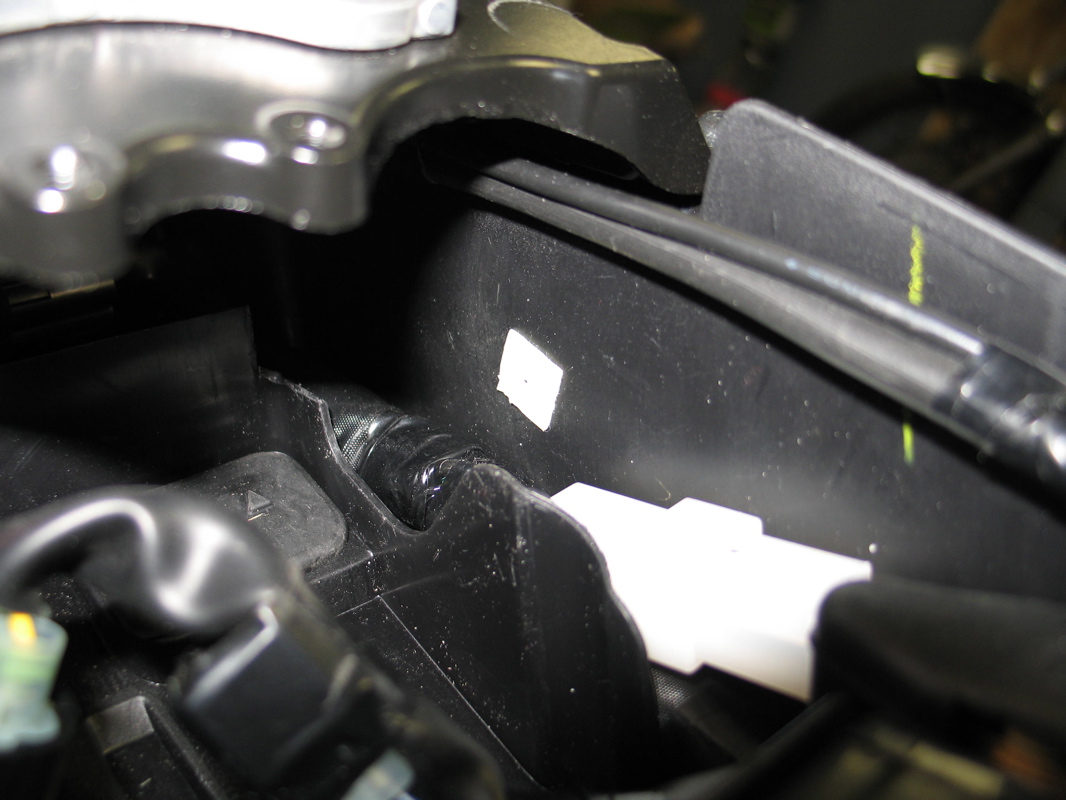
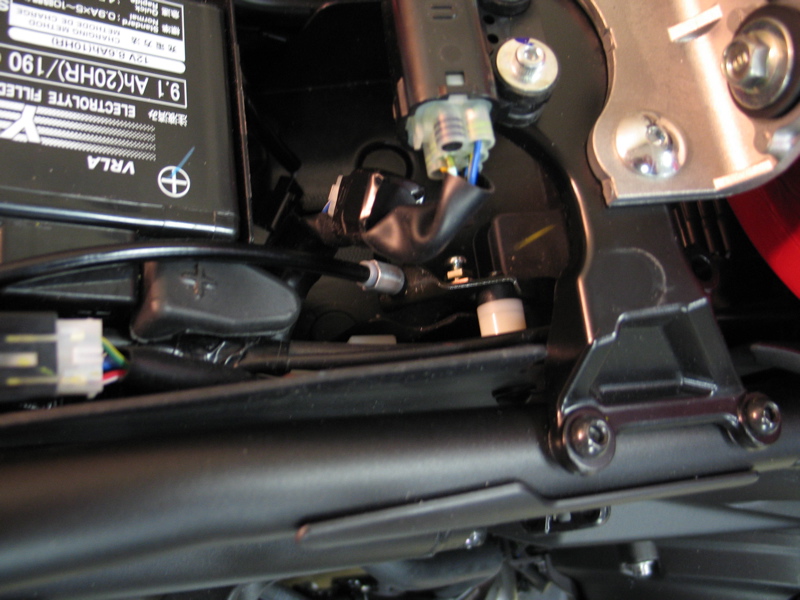
I cut a square of some double sided sticky tape and made a hole right in the center of it, I then
stuck it (centered) to the face of the lock. The lock positioned as far down and to the rear of
the bike as possible, it is actually touching the plastic tray underneath it. Once I got it into
the position I thought was correct I pushed it to the tray plastic so it would stick to were I
plan on drilling the hole.
|
 |
Checked it out to be sure the cable would clear etc...
 |
Pulled the lock off leaving the tape. I grabbed an awl and forced a hole through the center of the tape
through the plastic so I would know were to drill the hole.
 |
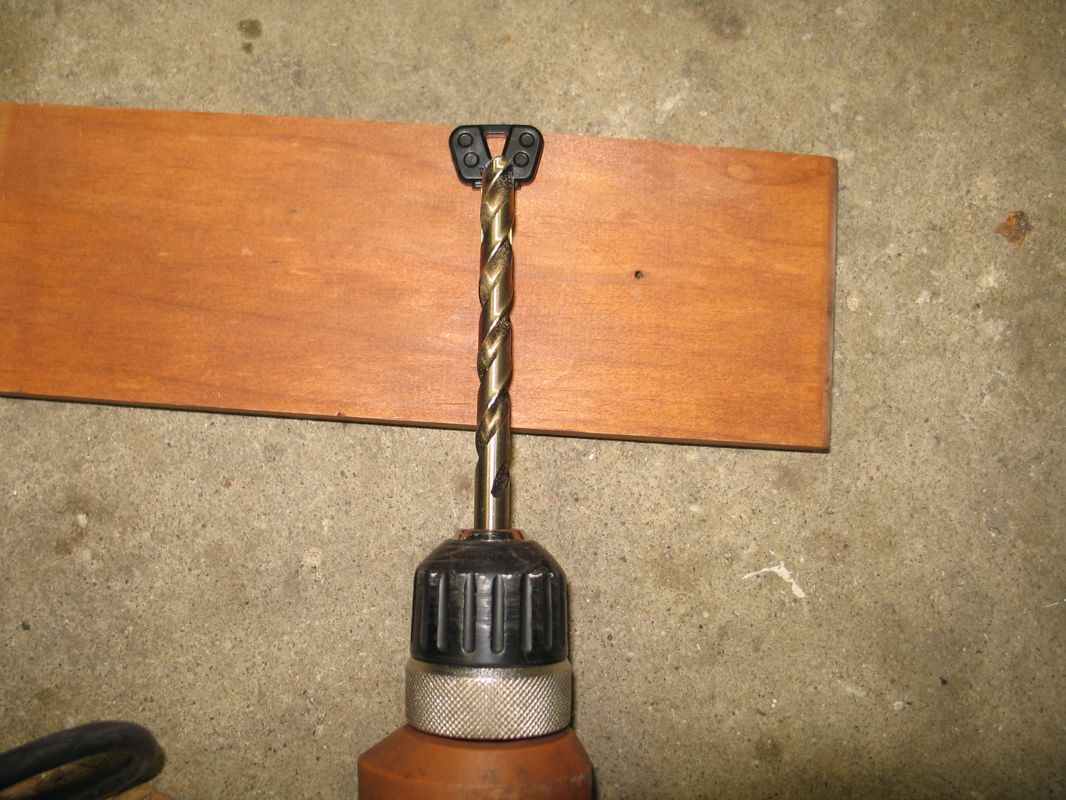
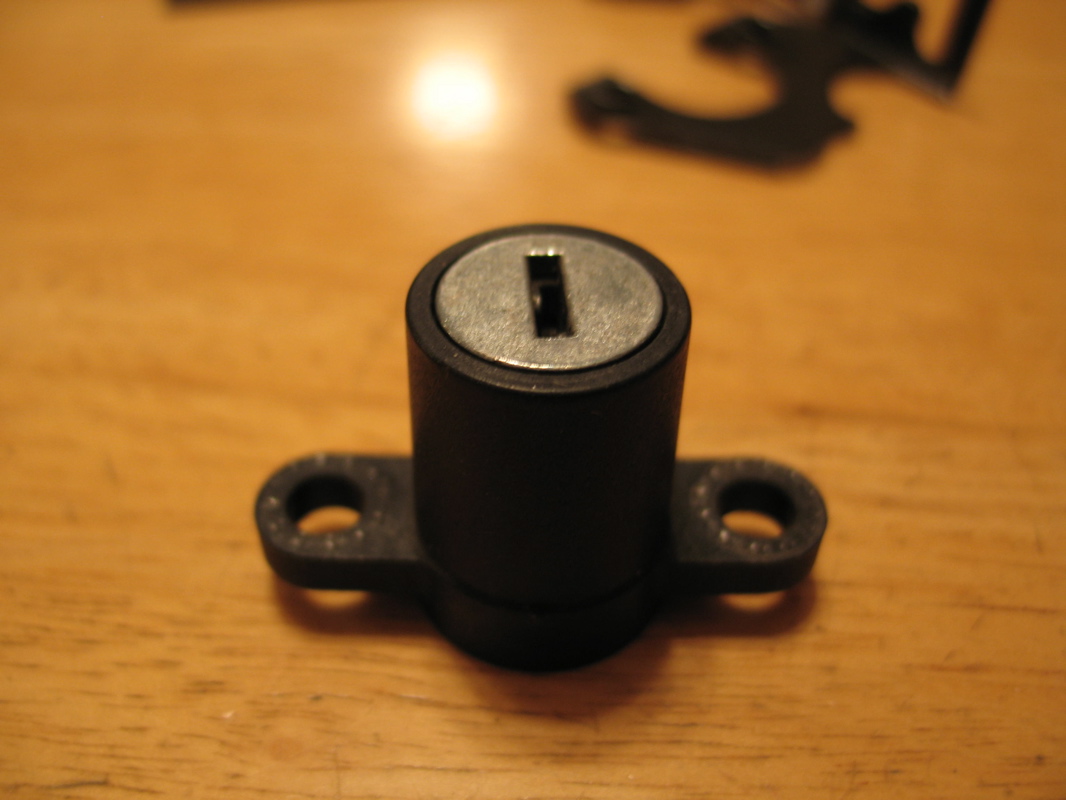
I picked a drill bit that was a little larger than the width of the key.
|
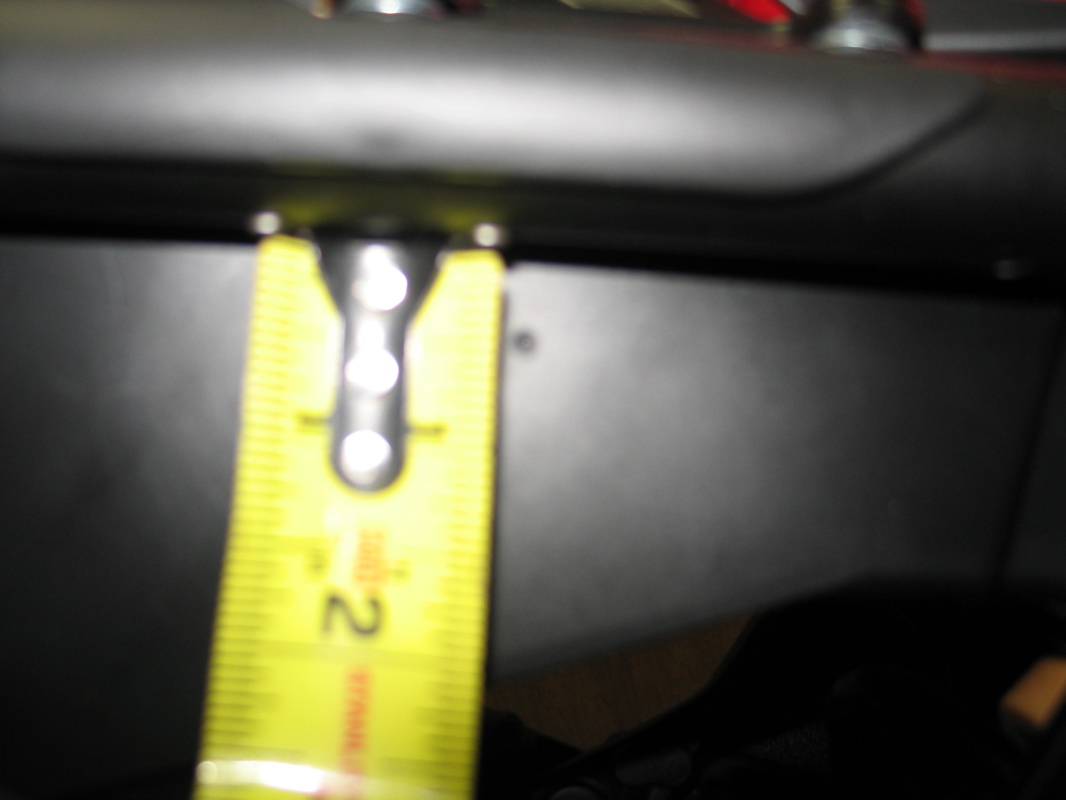
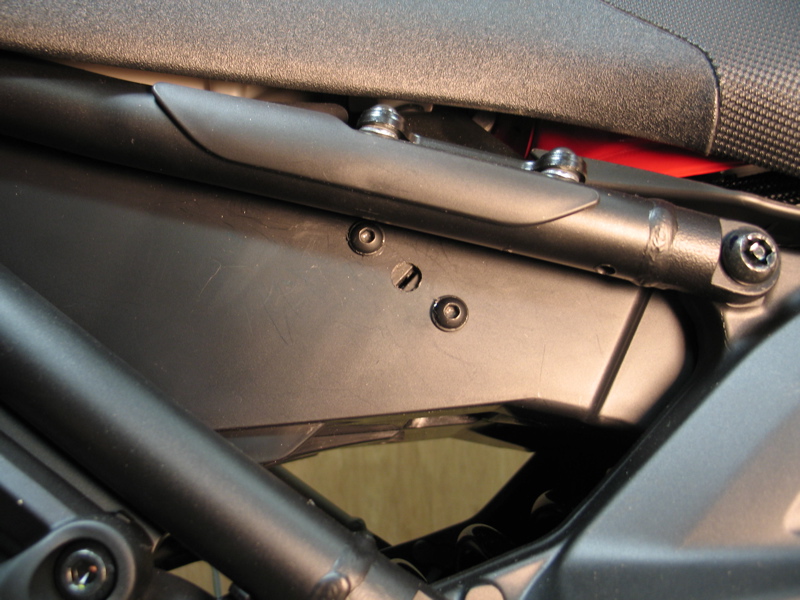
Bad picture but the hole is about 3/8" down from the frame.
(just to give you an idea)
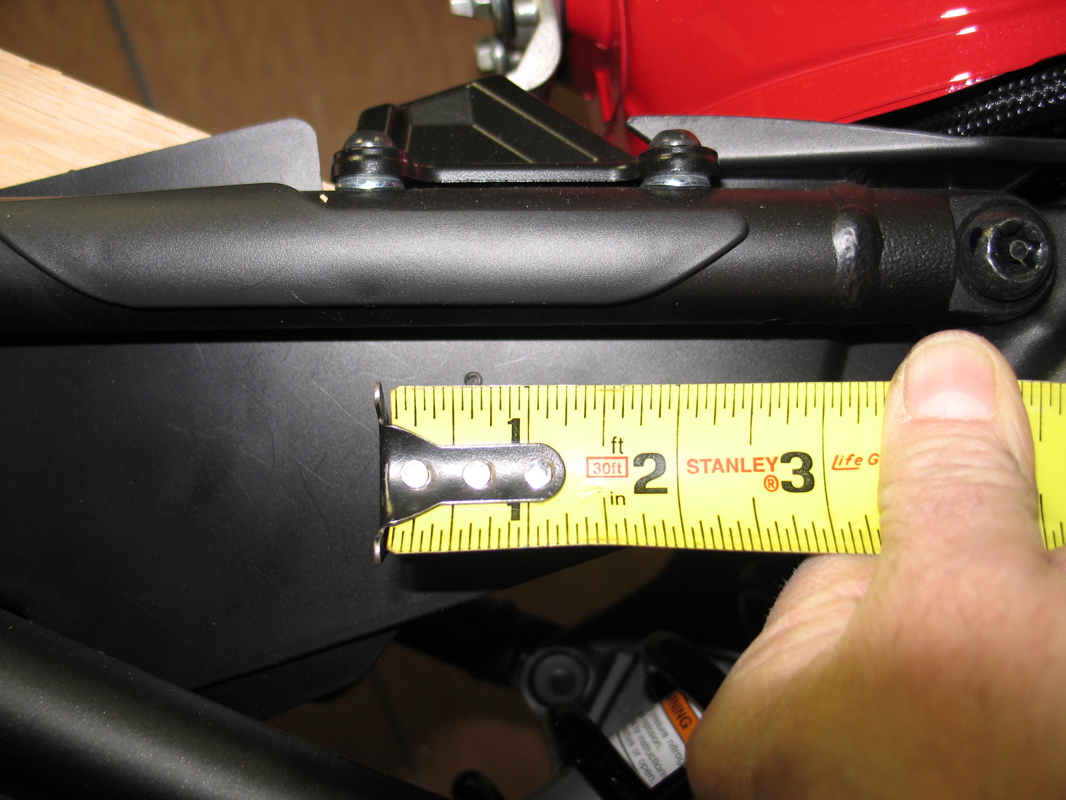
 |
and about 5/8" to the right of that top screw.
 |
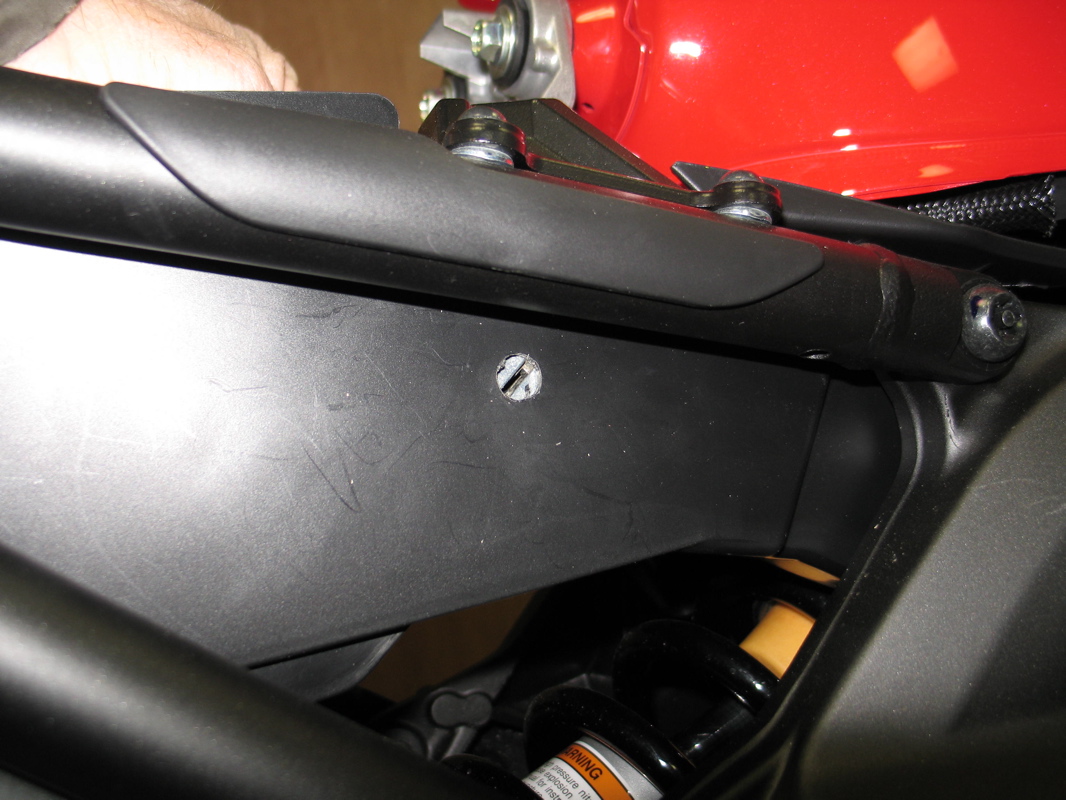
After drilling the hole I held the lock in place just to see what it looked like.
 |
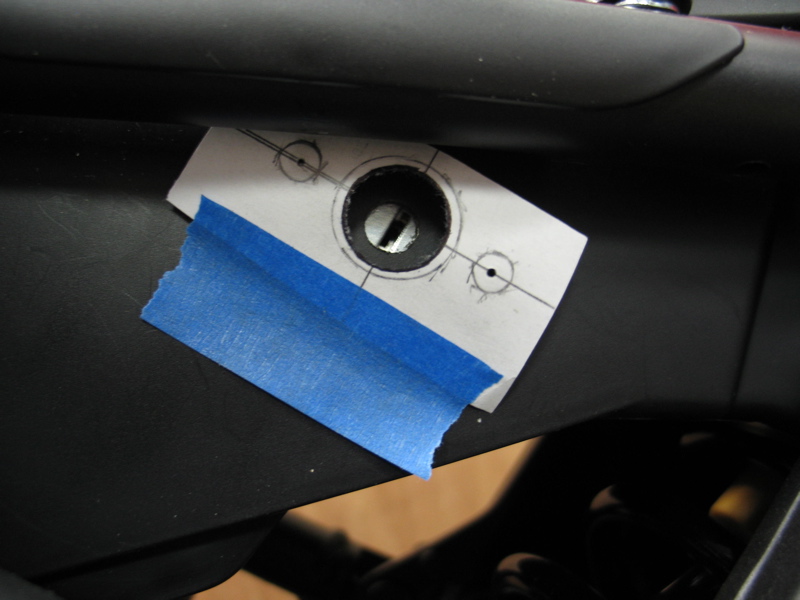
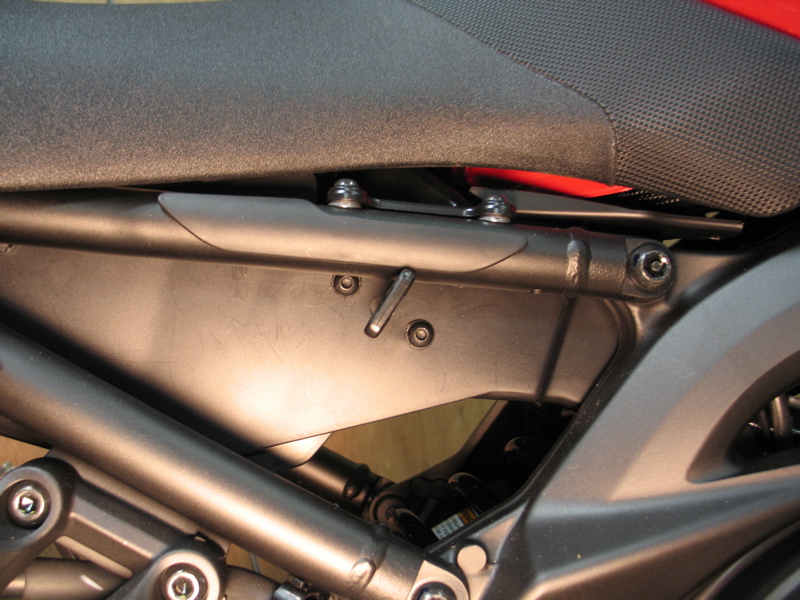
In order to drill the holes in the correct place I made a paper template so I could position the vertical line with the
key slot, worked out well.
 |
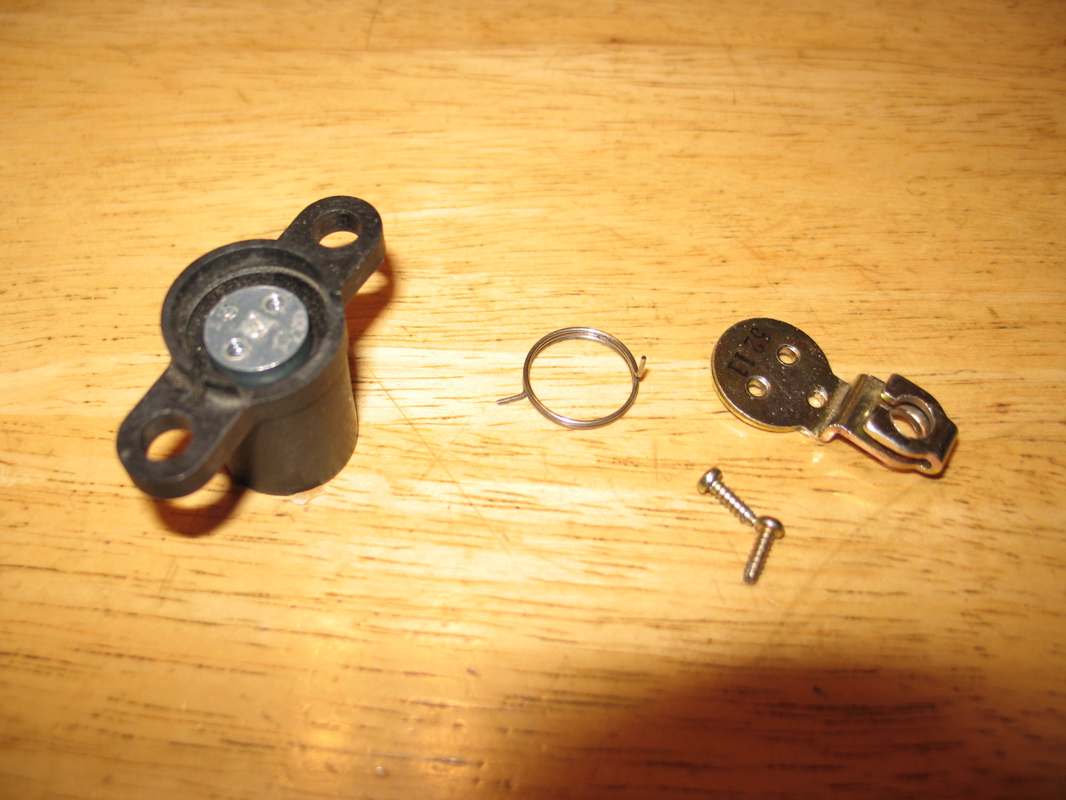
The lock is very simple to take apart, two screw and it comes out. If you didn't feel like messing with the lock itself
you could just swap the lock with your original but you wouldn't be able to use your key with the one above the tire.
|
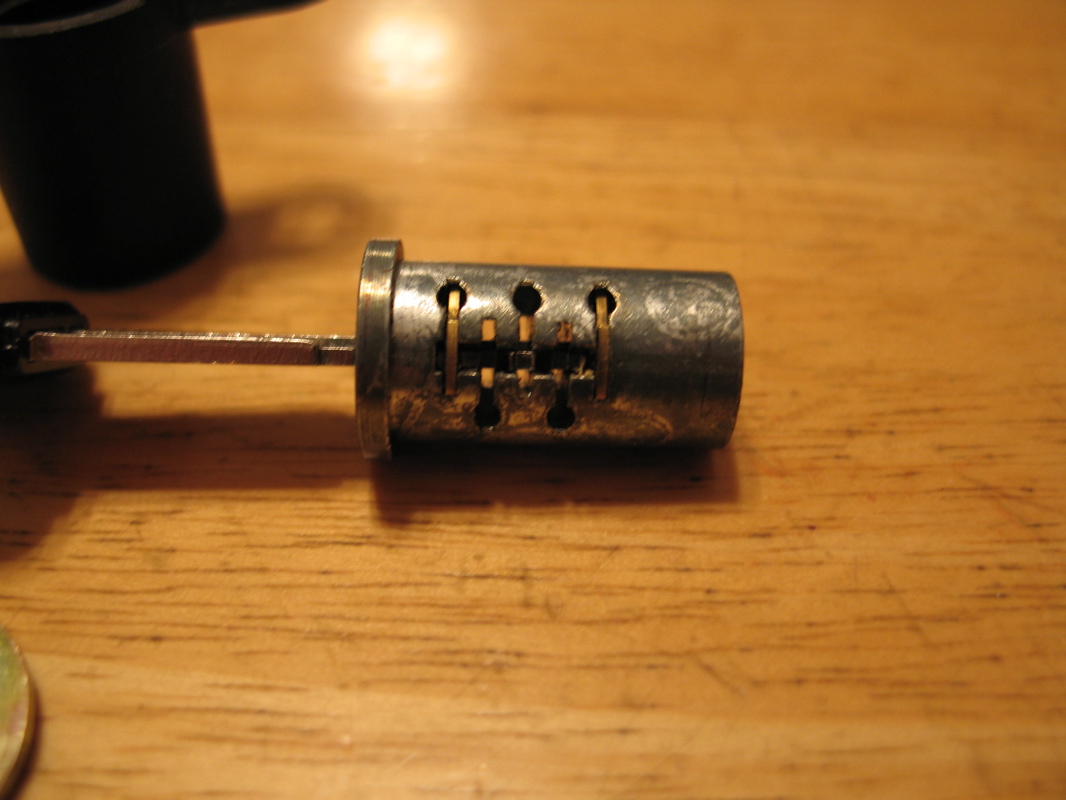
I put my key in the lock and the three middle pins did not line up flush like the first and last pins so I just pulled
them out and discarded (two pins are fine for me).  I think you could get away with one pin, out of five pins in the
lock you should be able to get at least one to work. If not you could steal one pin from your original lock, just put
it in the same number slot of the lock you purchased.
|
Here you can see the three middle pins I removed.
|
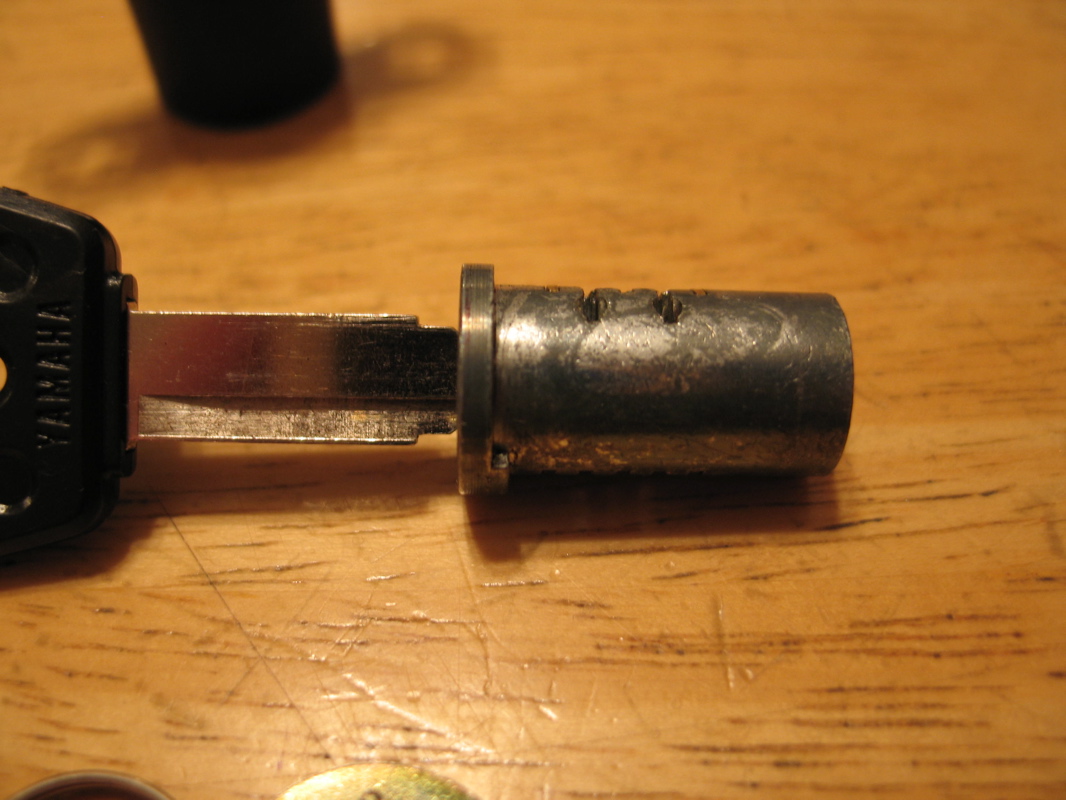
Putting it back together it should be flush like this,if not rotate it 180 degrees.
 |
Ithis was the original cable, too short, pull the ends off.
 |
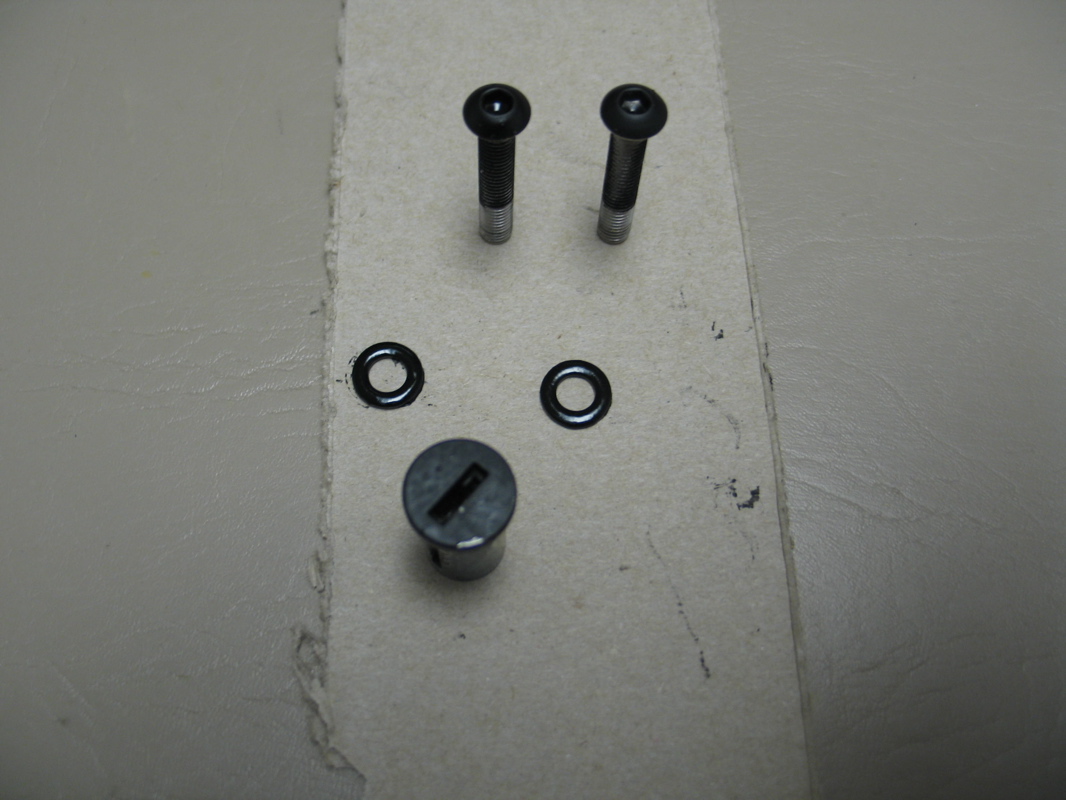
I stuck the parts in some cardboard and spray painted them flat black.
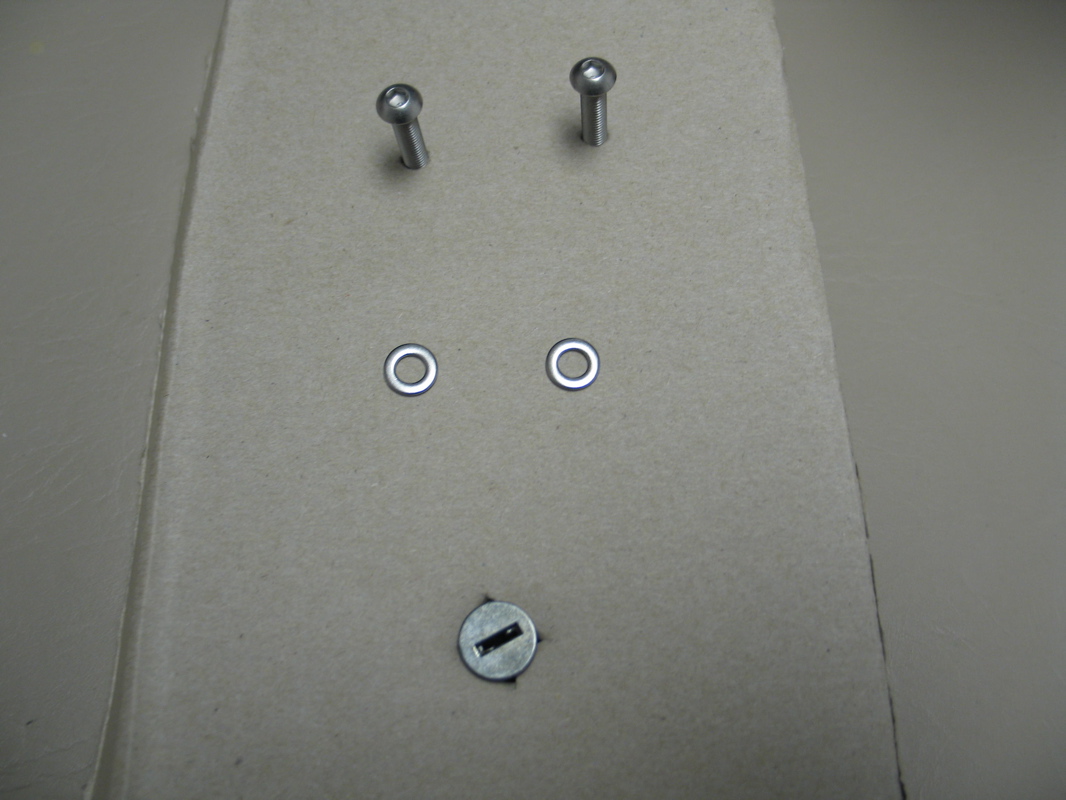 |
Parts that are glossy are still wet.
 |
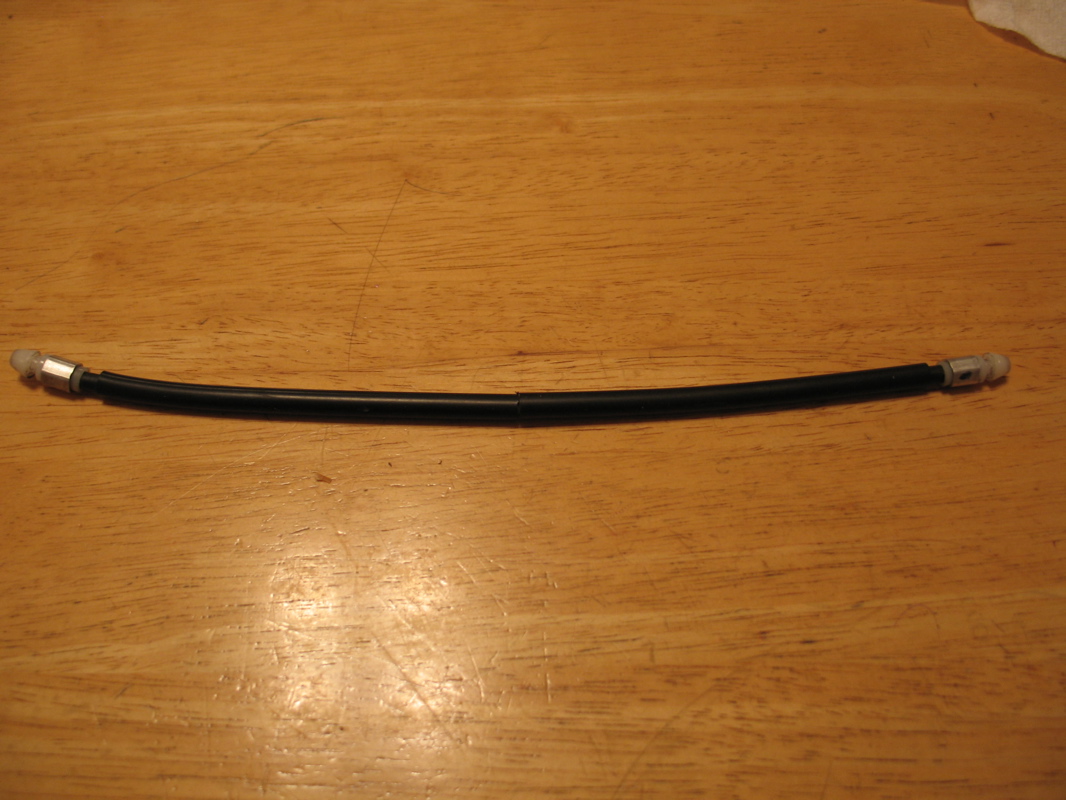
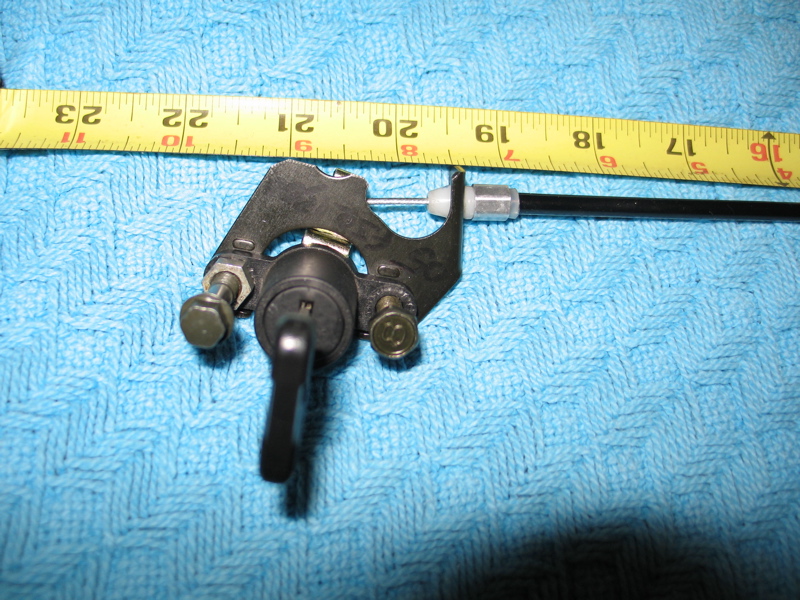
Over all length of the cable was at 19 and 3/4 end to end tip to tip after forcing the tips on with a little WD40.
 |
Close up.
 |
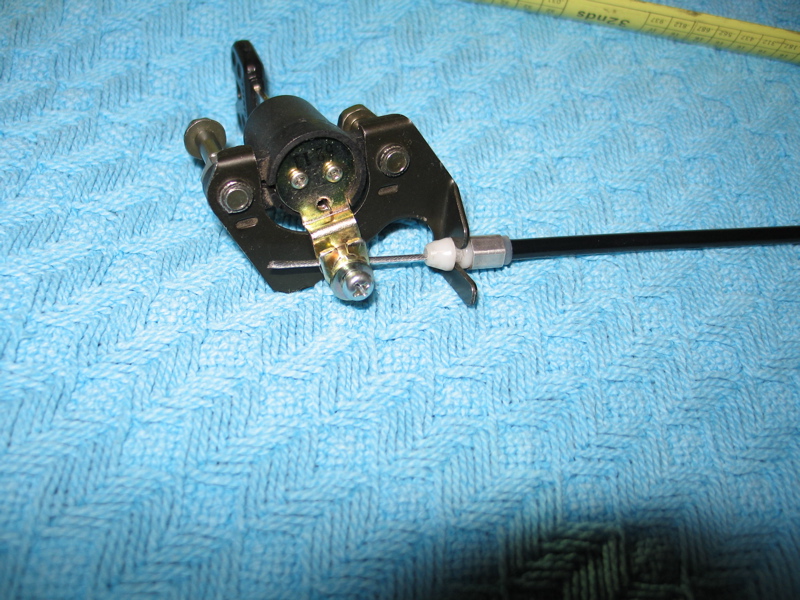
Cable installed and ready to go.
 |
Closer look at the cable with the cable end I bought at ACE hardware.
 |
Tried to get a pic of it installed, you can see the white nylon standoffs and the heads of the screws.
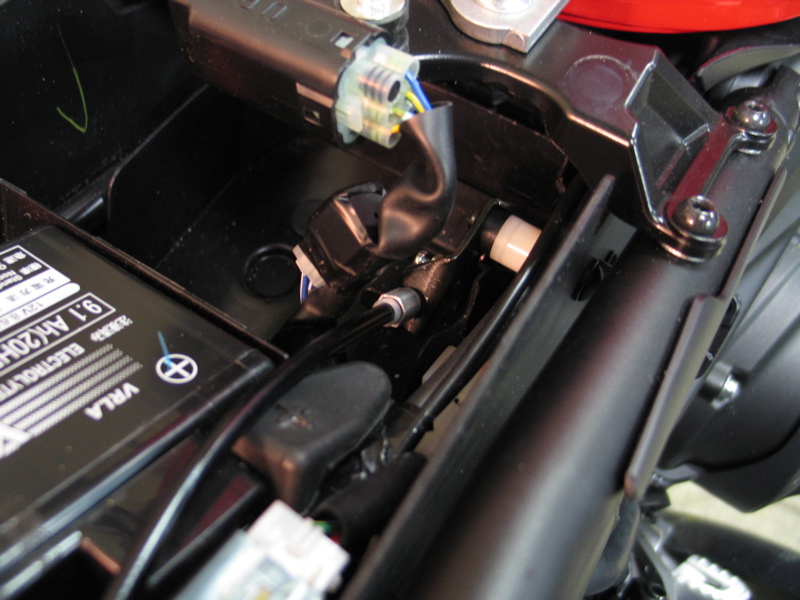 |
Another shot from a different angle.
 |
Cable routing.
 |
Finished.
 |
Key is very close but works fine.
 |