FZ-09 Integrated garage door opener
|
The high beam trigger is perfect for opening the garage door. I had this setup on by Ducati and loved it. The trigger
beats a high low beam switch in that you can't leave it in the on position only to find out next time you go to ride
your bike and start it up in the garage the door starts closing.
I have installed garage door openers on several bikes and cars to operate using the high beam switch. I have done this with regular (old style) openers and the newer intellicode openers (always been Genie but I would think it should be the same for others as well). It is a simple installation with several benifits.
The remote I used required a small 12v battery so voltage was not an issue. I have also used the 9 volt models without any issues, my guess is that the electronic tolerances are high enough that there is no damage to the remote. I used a 9 volt model in my car for three years, sold the car and kept the remote. I removed the soldered jumper and put the 9 volt battery back in and still use it today. I took some pictures during the process of removing the battery from the remote, taking the remote apart, soldering wires to the remotes terminals where the battery used to connect and connecting the remote to the high beam wiring of the headlight. |
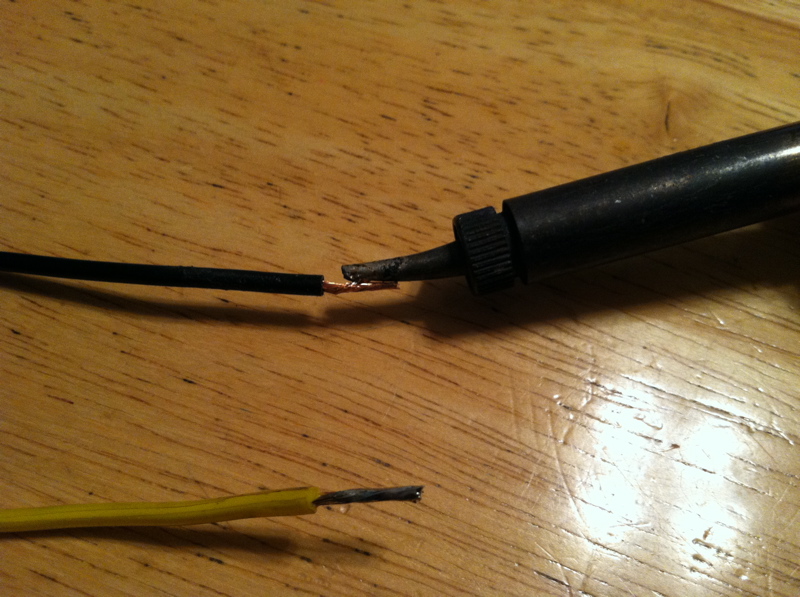
| Solder the bare tips of the wires in preperation for soldering to the remote. Heat the wire up and apply the solder. |
 |
|
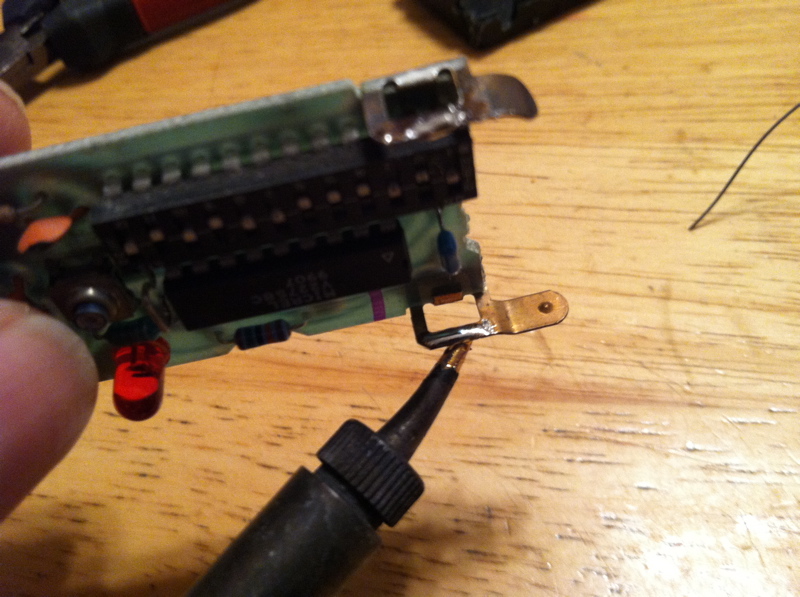
Apply solder to the connectors in preperation for soldering the wires to the remote. Heat the connector and apply solder. |
 |
|
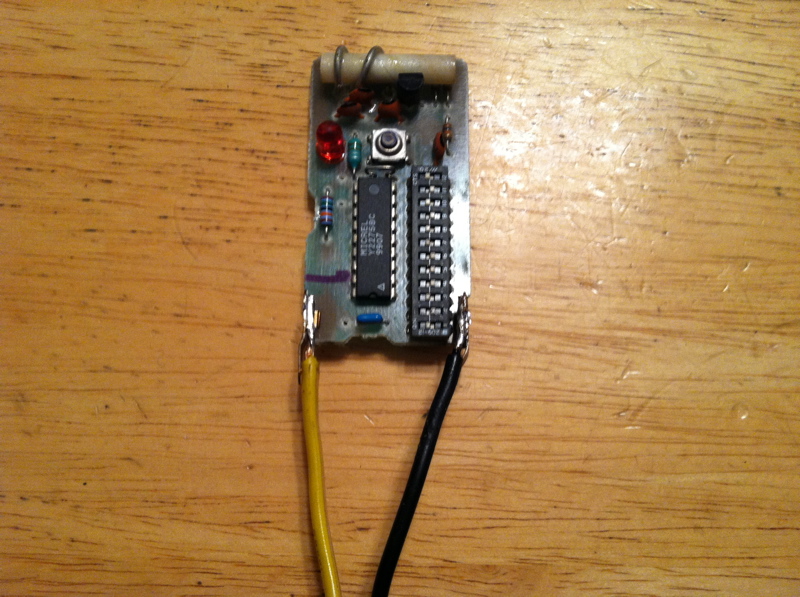
Solder the wires to the remote (additional solder should not be needed), yellow goes to the positive terminal black goes to the negative. |
 |
|
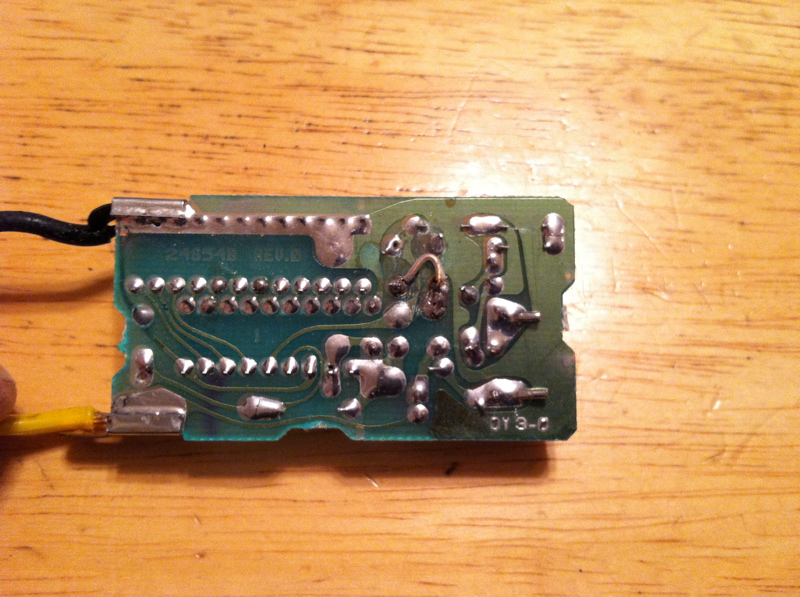
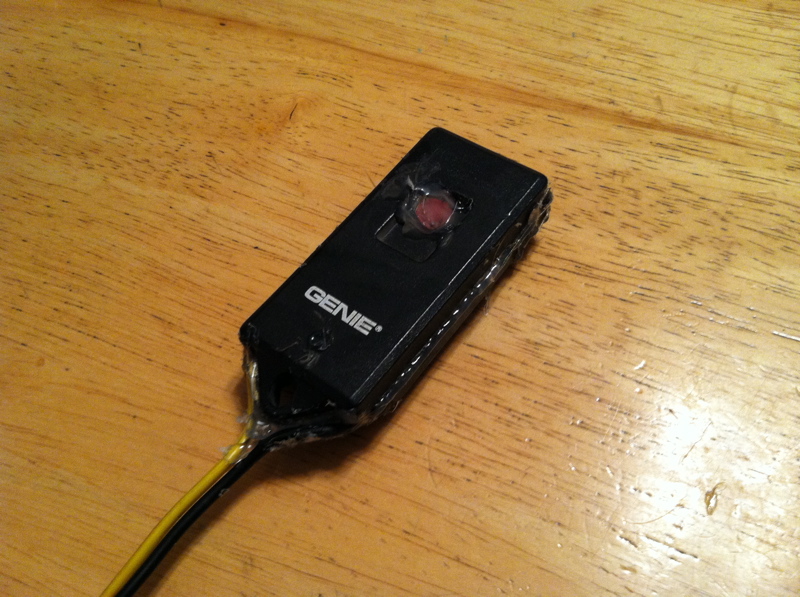
Solder a jumper wire over the switch pins simulating the button being in the pressed condition. If you don't have an Ohm meter you can hold the remote in your hand with the battery that came with the unit installed and short the two points together with a piece of wire and see if the garage door closes (or opens), you can keep trying this method until you find the two pins you need to solder together. |
 |
|
I sealed all the holes, seams and button with a hot glue gun just to keep it weather tight. |
 |
|
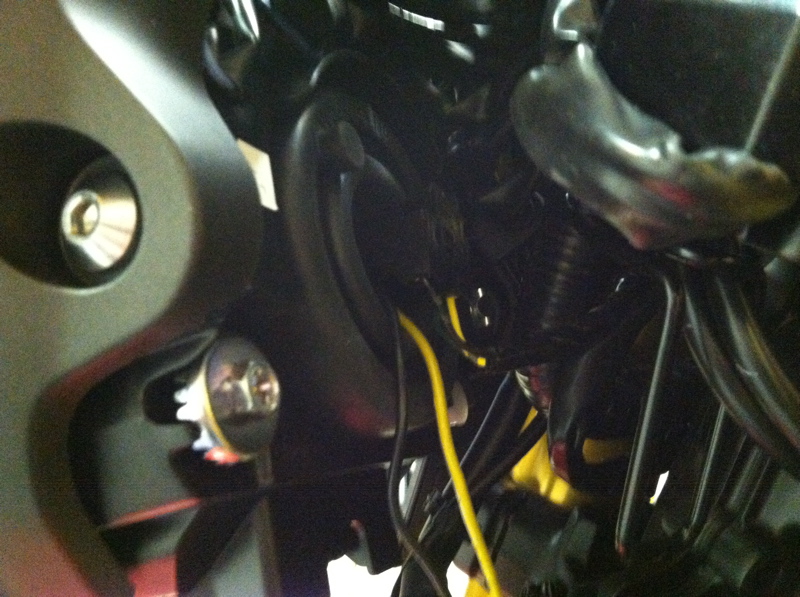
The access you will need for the headlight connection requires removing only two bolts. The top two bolts on each side. The bottom of the headlight clips onto some rubber mounts so you will have to lift the headlight assembl up about a half inch to clear the mounts. You can then pull the assembly forward to get to the connector. |
 |
|
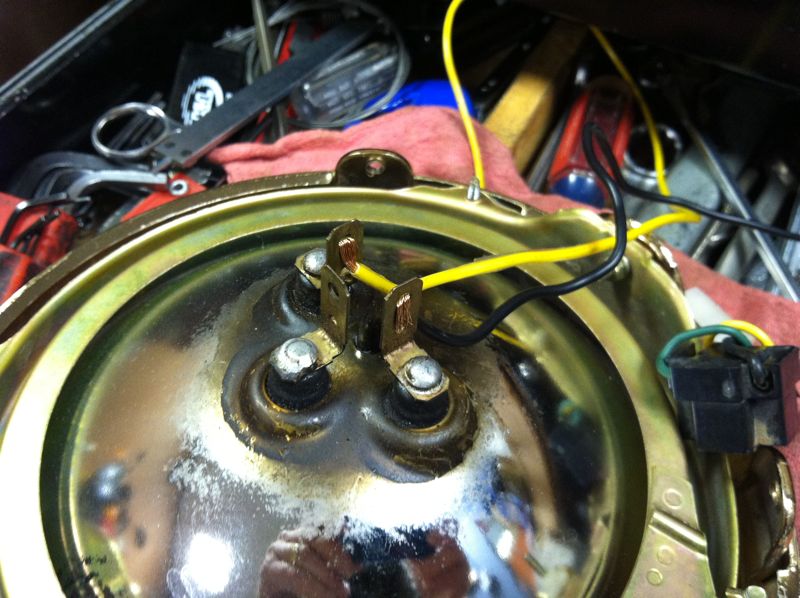
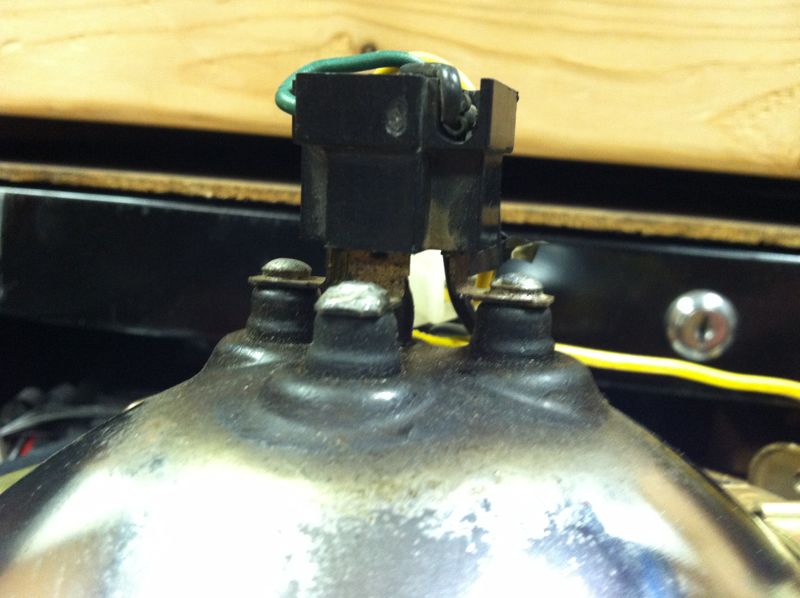
Look at the headlight connector and note what color wire goes to which terminal, the yellow will be the high beam positive wire, the black will be ground (green is the low beam positive wire). The remote will connect to the high beam positive and ground. The ends of the wires that connect to the headlight should not be soldered. Strip about 5/8 of an inch of insulation off the wires. Feed the bare wire into the terminal holes halfway and bend the wire down on each side of the terminal. Do this for each wire. The connector will be pushed on over the wires. |
 |
|
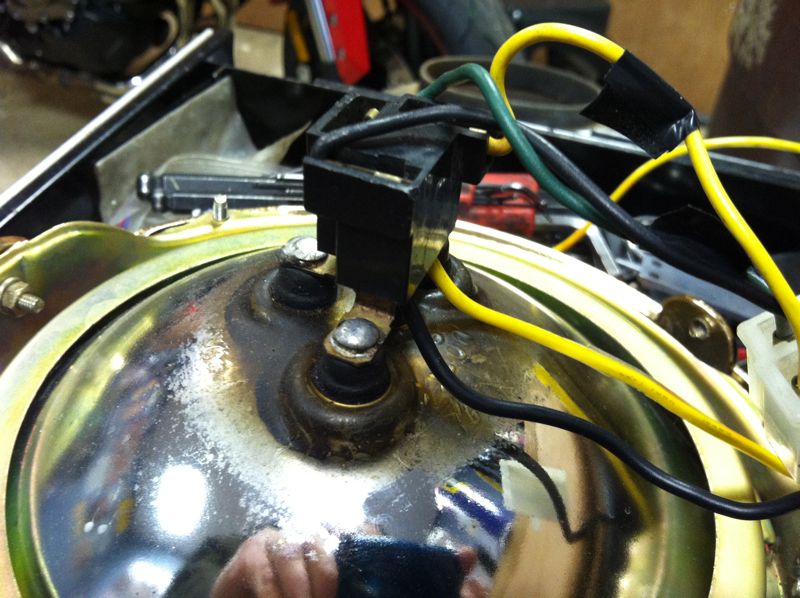
Push the connector on to the headlight, make sure it is fuly seated. |
 |
|
Some other pics (my old xs850 headlight) to see how the wire is bent on the headlight terminals. |
 |
 |
 |
 |
|
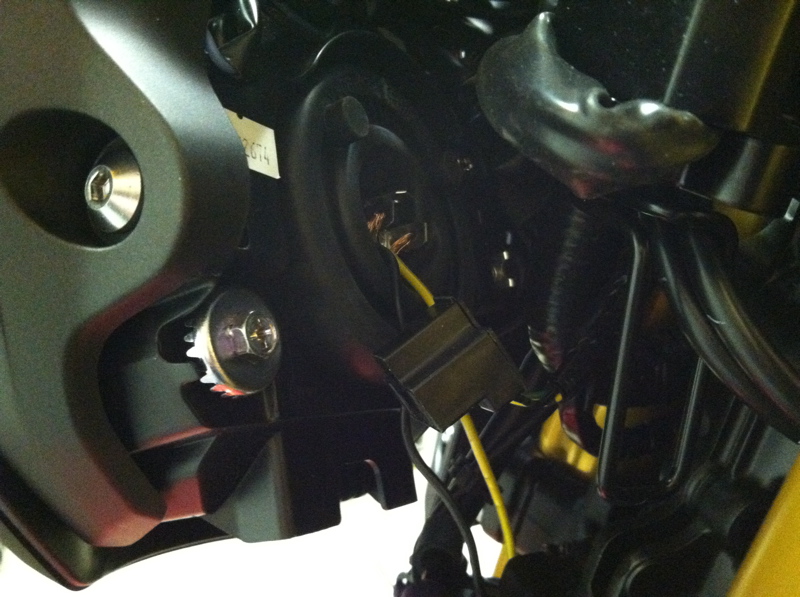
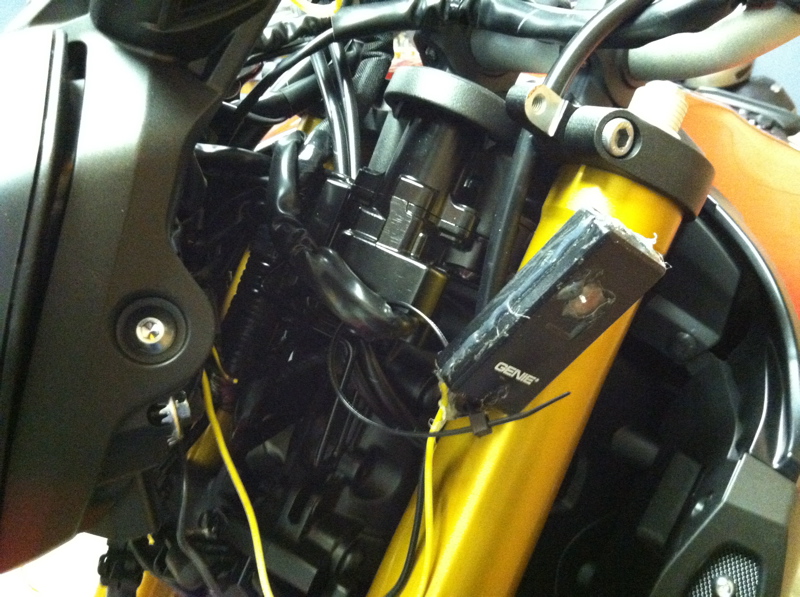
I found a nice spot between the headlight and ignition switch, fits nicely. I put a tie wrap on it and tuck the wires in, don't want anything moving around and interfearing with the stearing. |
 |
|
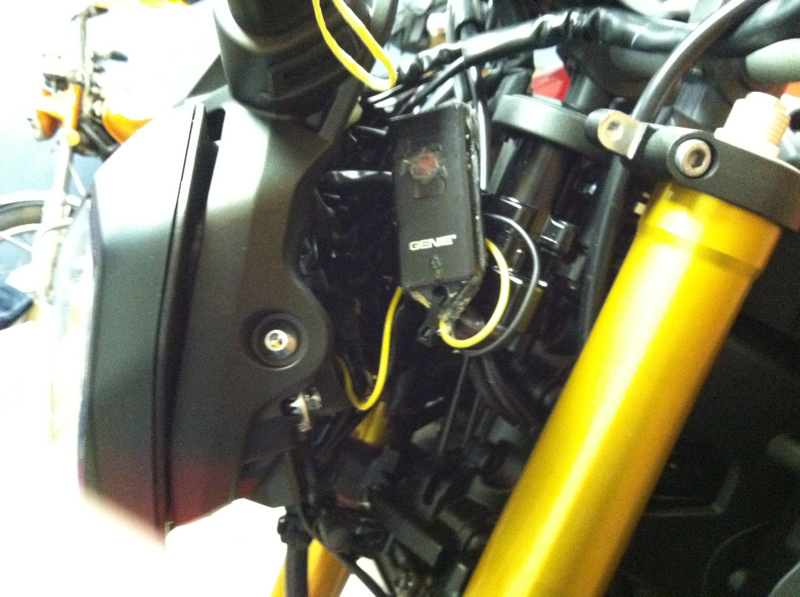
Once the headlight is put back in place it helps hold the remote in, the tie wrap keeps it from moving around anywhere. I moved the wires out of the way wrapping them over the top. |
 |
|
Slipped the headlight assembly back in and installed the two bolts. Done! |
 |